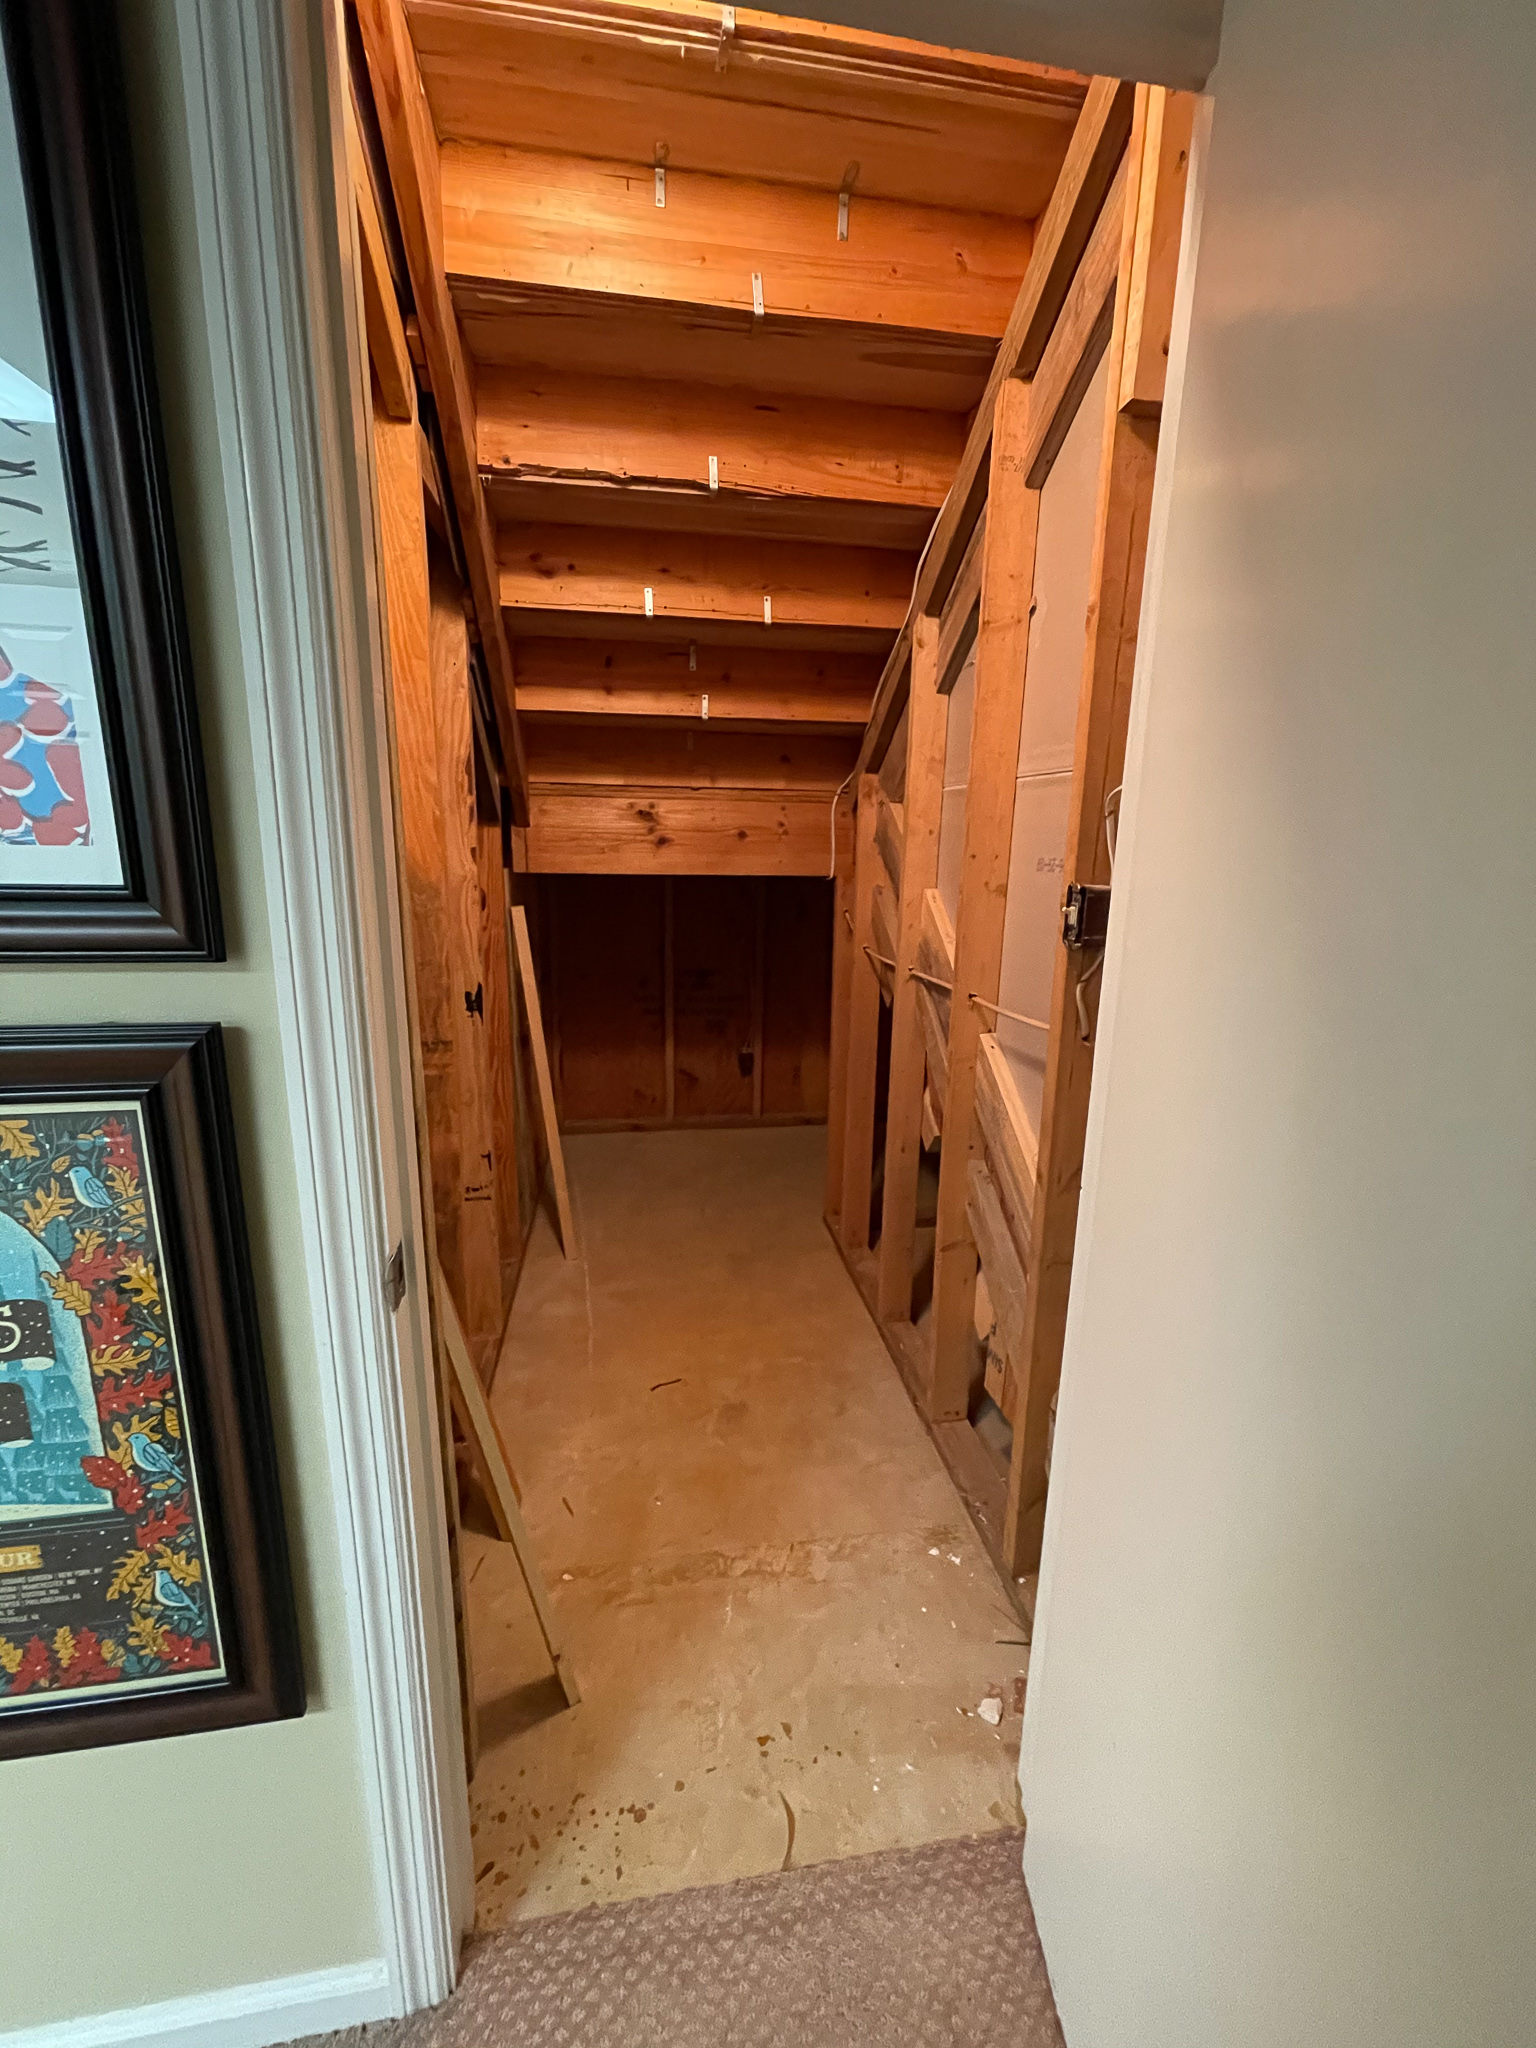
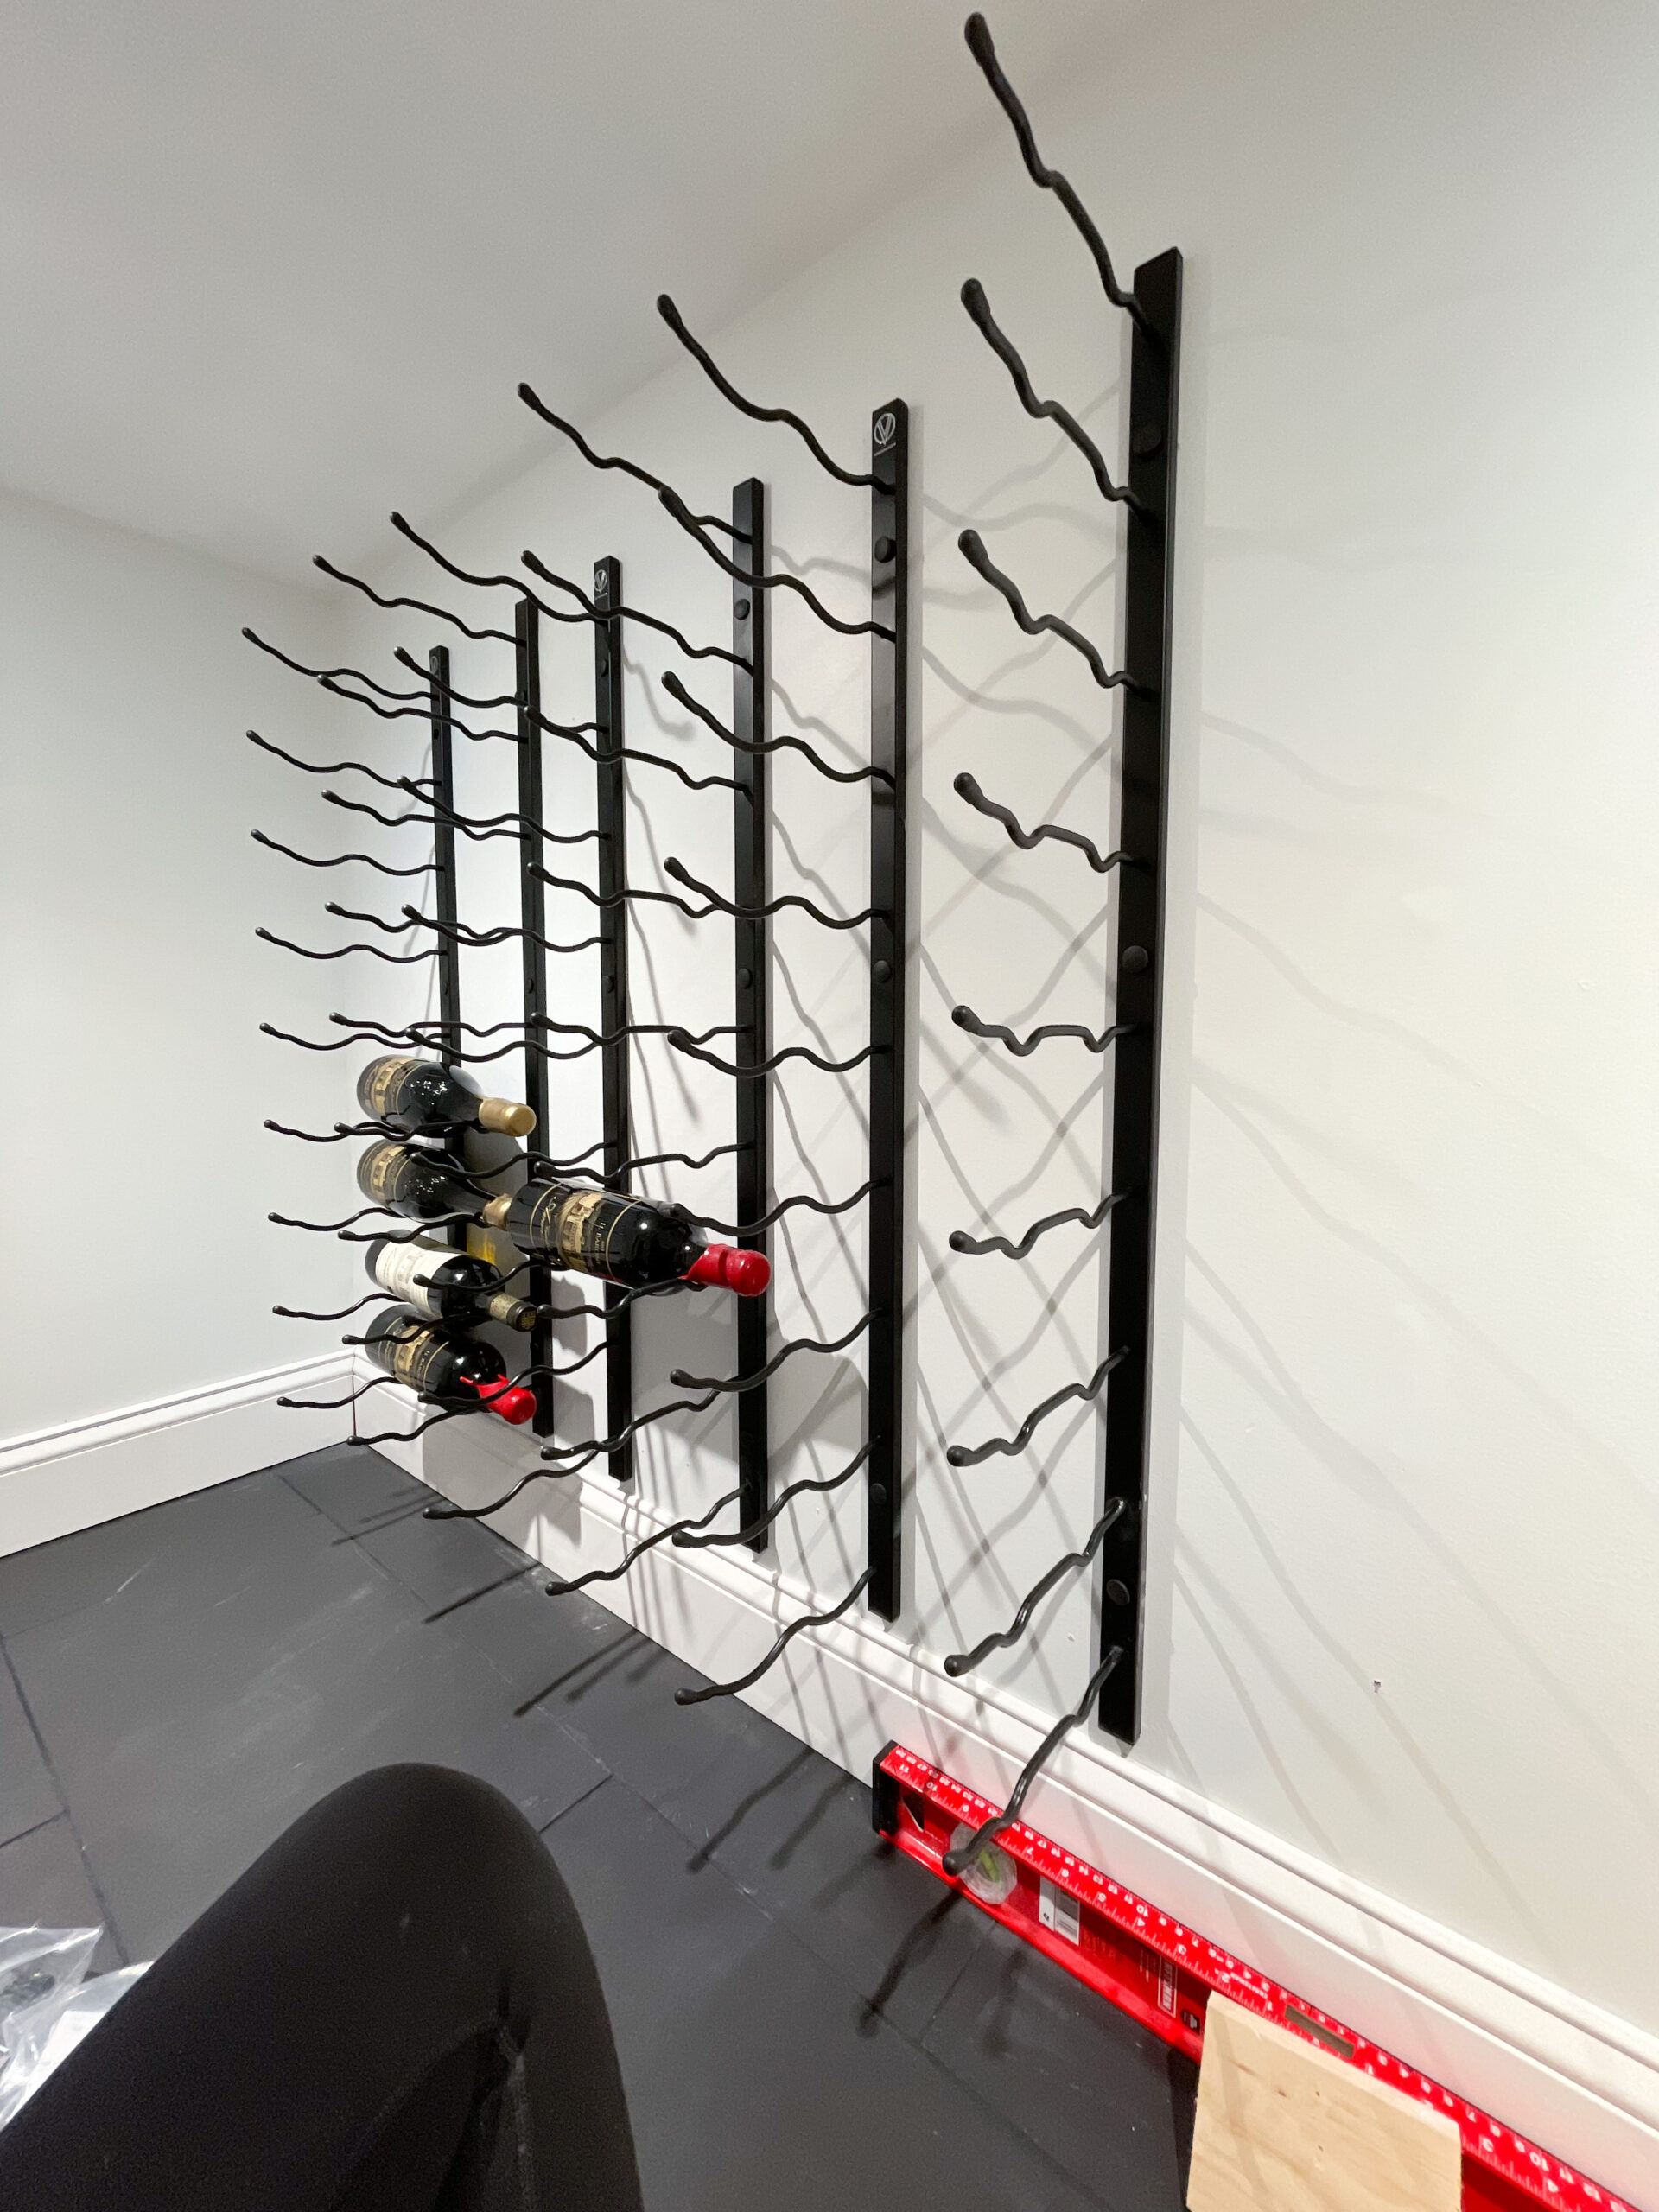
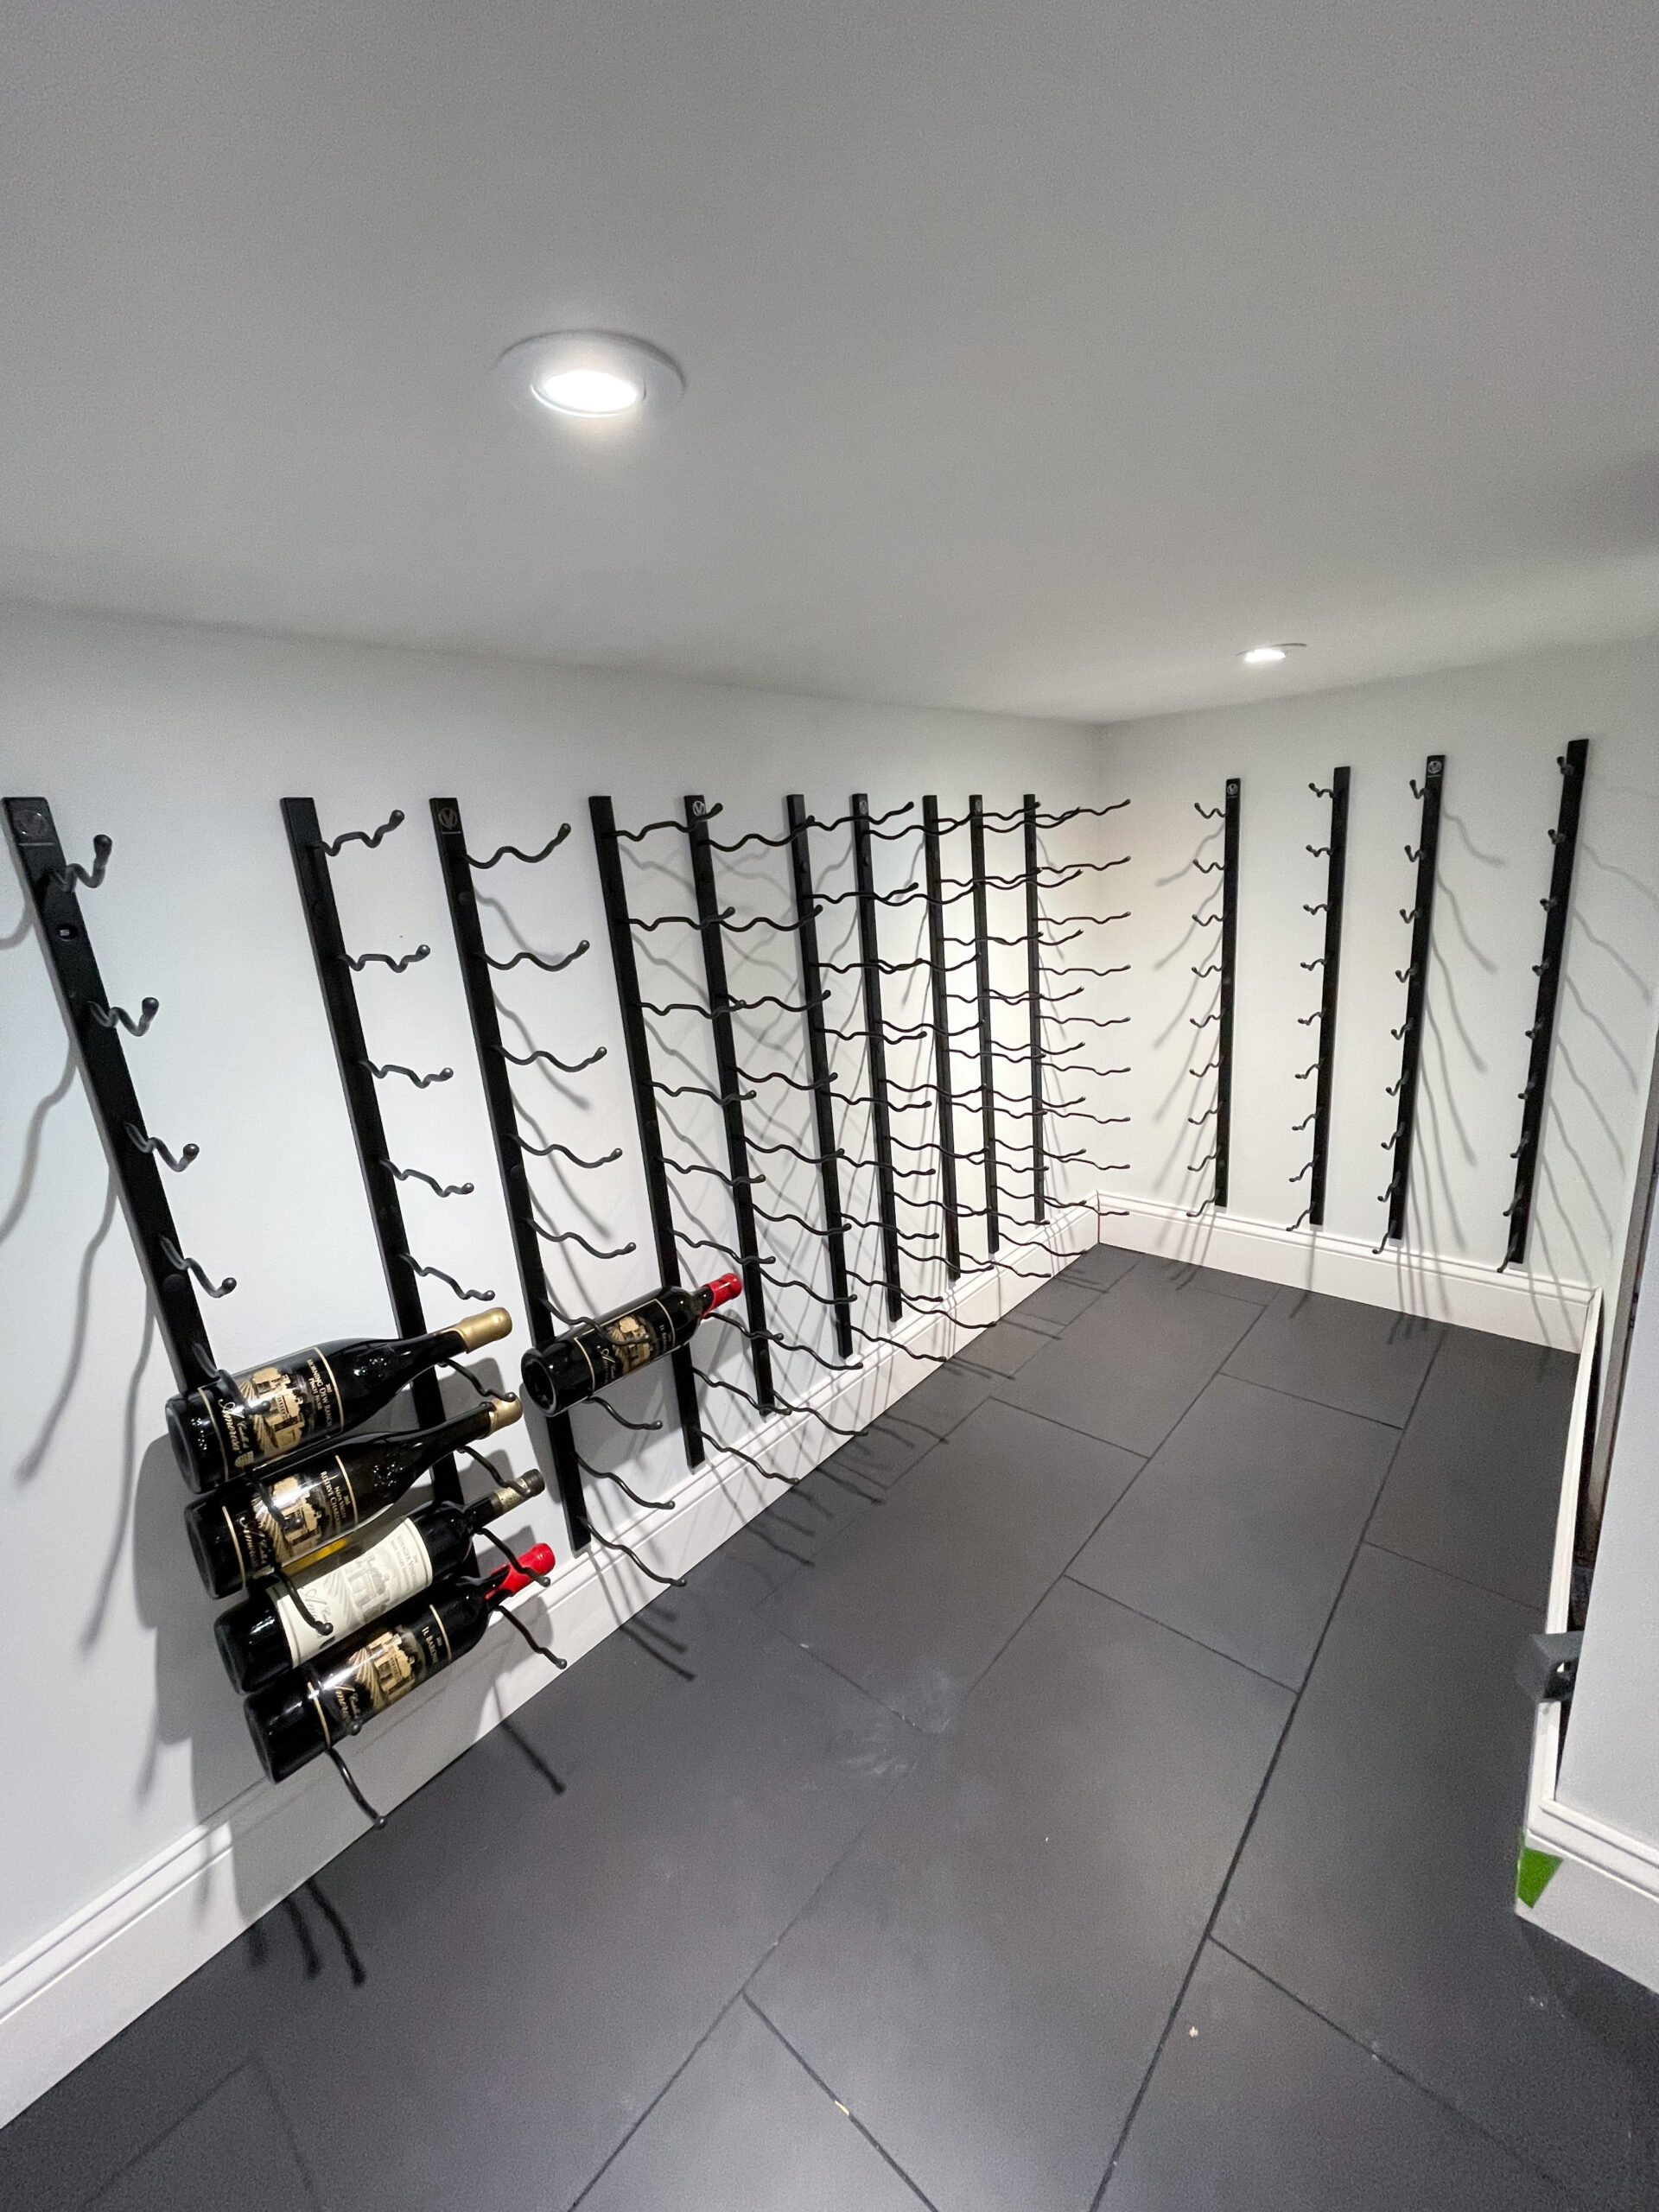
WE ARE FINALLY HERE. Our DIY Wine Cellar is finally completed! We had this space underneath our stairs that served as poor storage space due to the shape. It had some wood paneling, old blue indoor/outdoor carpet, and outdated/overheating light fixtures. I ripped out the carpet and wood paneling pretty early on leaving the studs and concrete exposed.
I went back and forth for about 2 years on whether to do active or passive cooling. I left a thermometer in the space for a year and a half to monitor the temperature and humidity. It stays between 45-62 degrees year-round with about 40-65% humidity. These are close to ideal cellar temperatures. I decided to build the cellar as I was building it for active cooling complete with a vapor barrier, insulation, and moisture and mold-resistant drywall. I had plans on leaving the concrete floor exposed and unsealed but after monitoring our downstairs bathrooms that we never use, I decided it wouldn’t make much difference and decided to go ahead and tile it. If later we decide we would like an actively cooled room, I have the opening and space already prepared to cut a hole in the wall above the door to insert a vent. The furnace room is right across the hall for a cooling unit to also be installed and have drainage. Other modifications for active cooling would simply include adding silicone around the glass and weatherstripping around the door.
Before
My starting point after ripping down wood paneling and hideous blue indoor/outdoor carpet that smelled like moth balls. This also includes the old wiring before I had it reworked a bit.
During: Drywall Finishings
Drywall is the worst. This took me the longest because I hate it. It’s messy and gets everywhere. Drywall dust can double as a replacement for some dry shampoo if you’re past your wash day and being super lazy. 10/10 don’t recommend sleeping in it. Don’t ask me how I know. I’m nowhere near perfect at drywall finishing but I got it done with few imperfections despite all of the corners that I initially planned to add molding to. Sigh.
Fun Fact: I completed 90% of the mudding and sanding without the lights installed. The electrician was a little busy and I was a little impatient. However, Walker Electrical & Services really pulled through. They got it done within the week I requested someone to come out and do the installation of the lights and light switch. All of the wiring was completed before I put the drywall up. I didn’t even plan to do this wine cellar until maybe later this year or early next year but Jeff was able to get this completed alongside our other electrical work and for a reasonable price so I went ahead and added it on to begin the project.
During: Paint, Tile, and Trimming
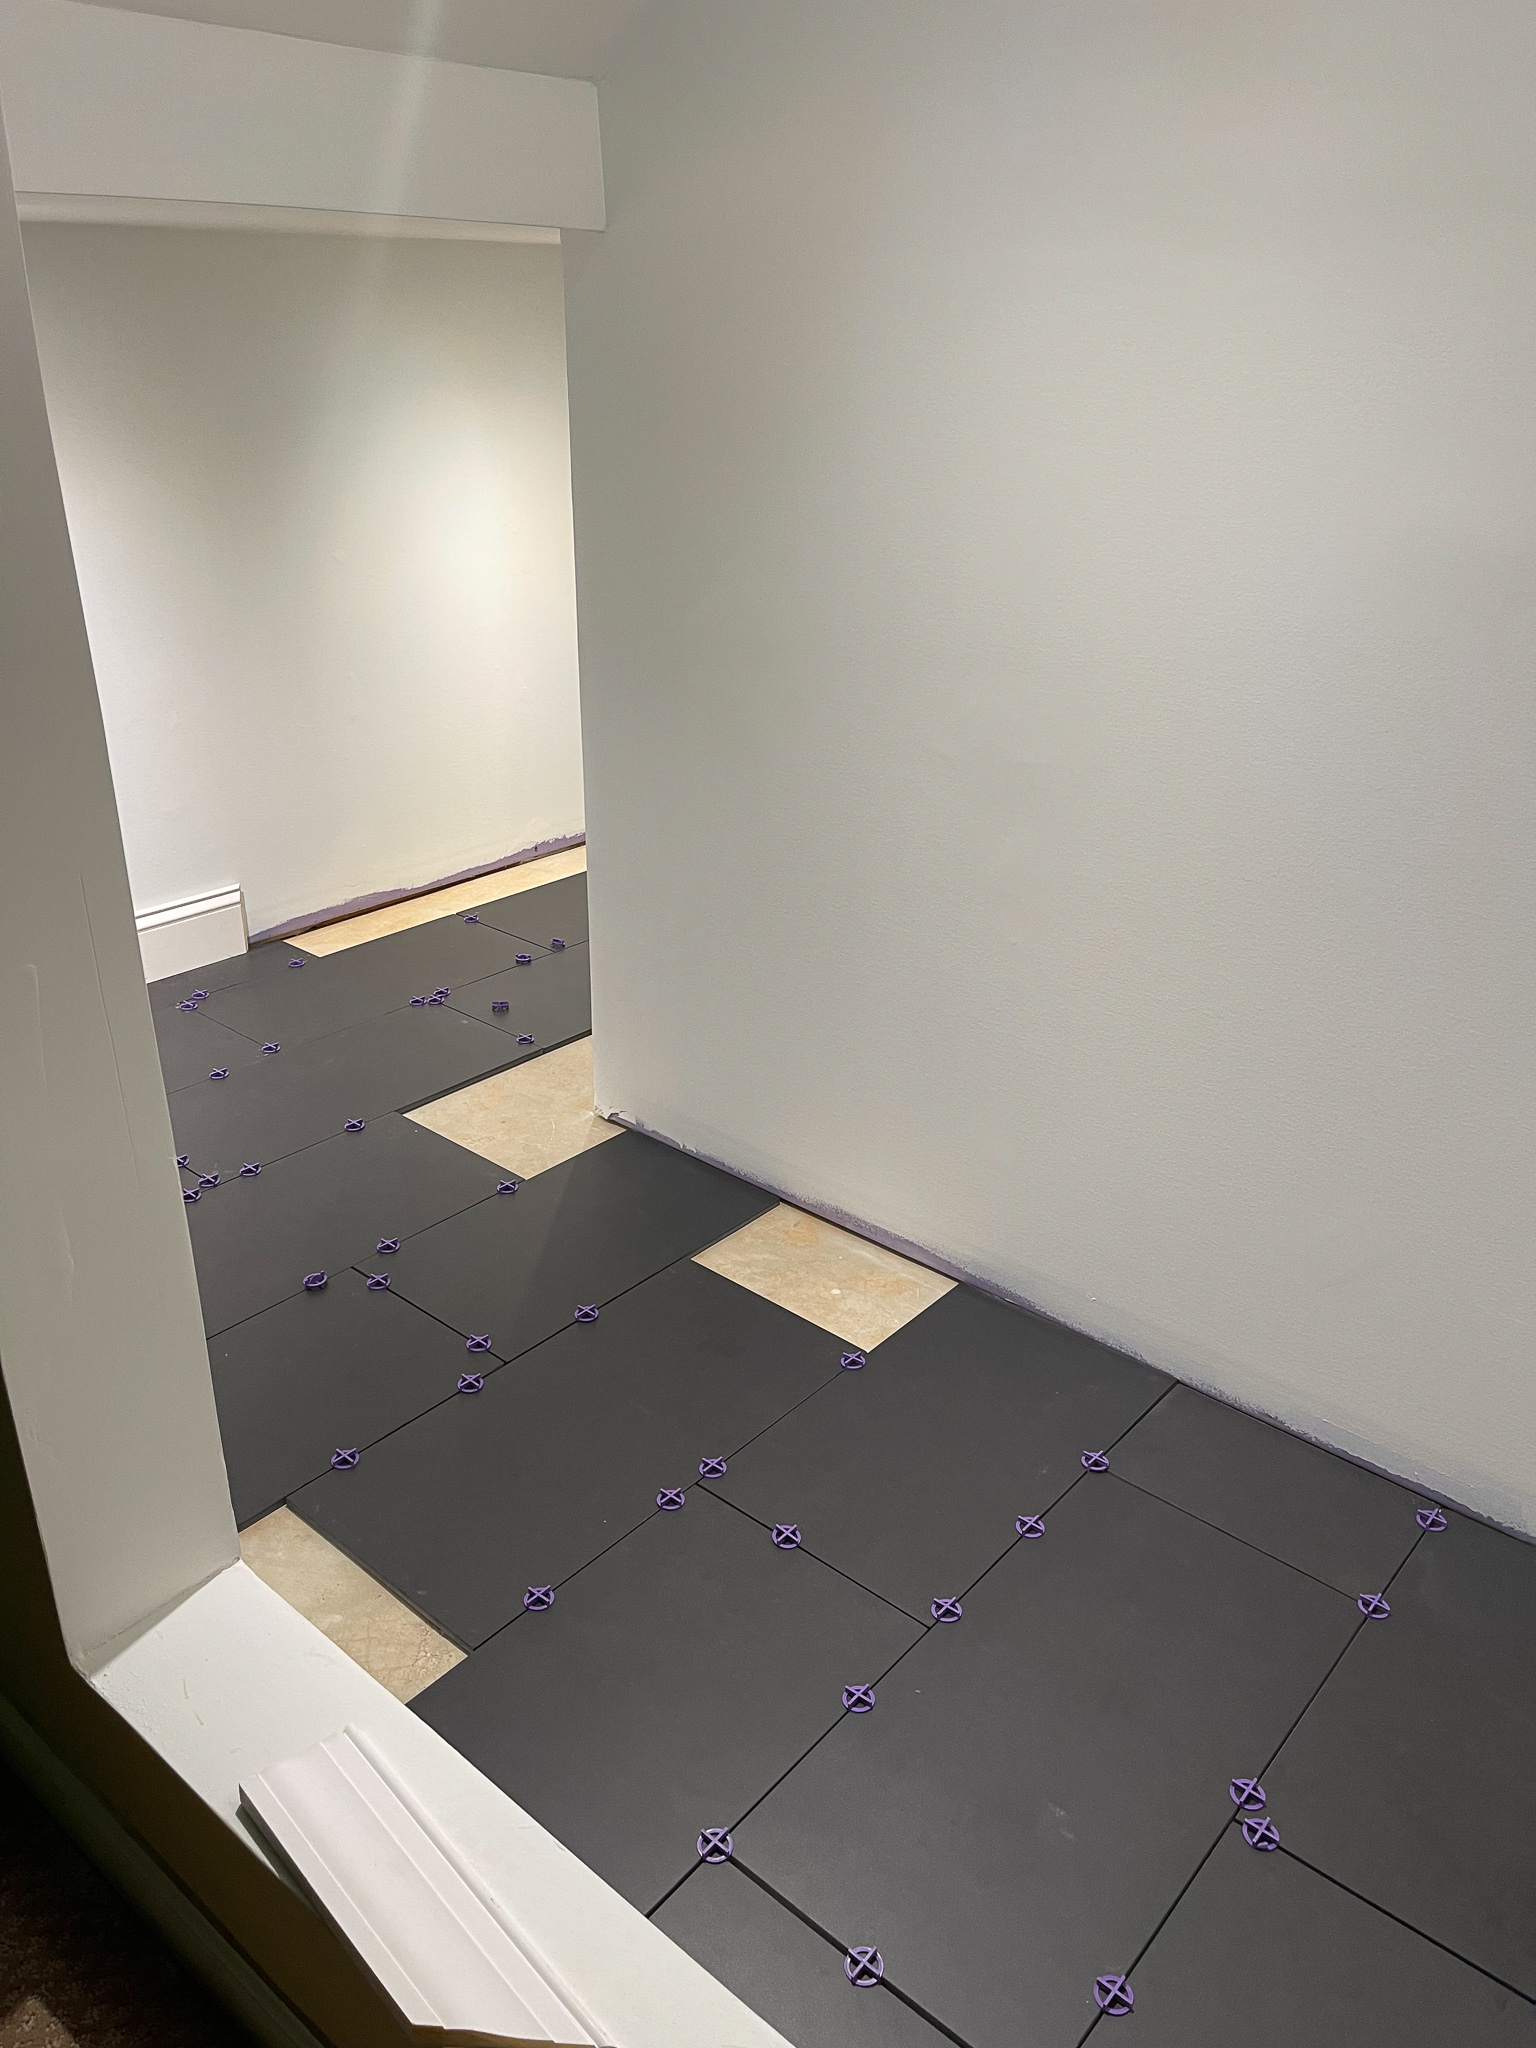
The dry lay has begun. Initially, I didn’t want to do tile in here. I was pretty set on leaving a bare concrete floor and doing passive cooling. However, the basement bathrooms stay extremely cold year-round and seem to have the same humidity as underneath our stairs. So, I decided to use the same matte black tile from Flordia Tile that we used in our main bathroom and laundry room remodels. Apparently, I’ve not learned my lesson with black tiles and the never-ending cleaning that goes along with them. It’s fine. It’s all fine. Note: I did seal the concrete before laying the tile. I built this cellar to be actively cooled if the basement doesn’t stay the proper temperatures.
Vintage View
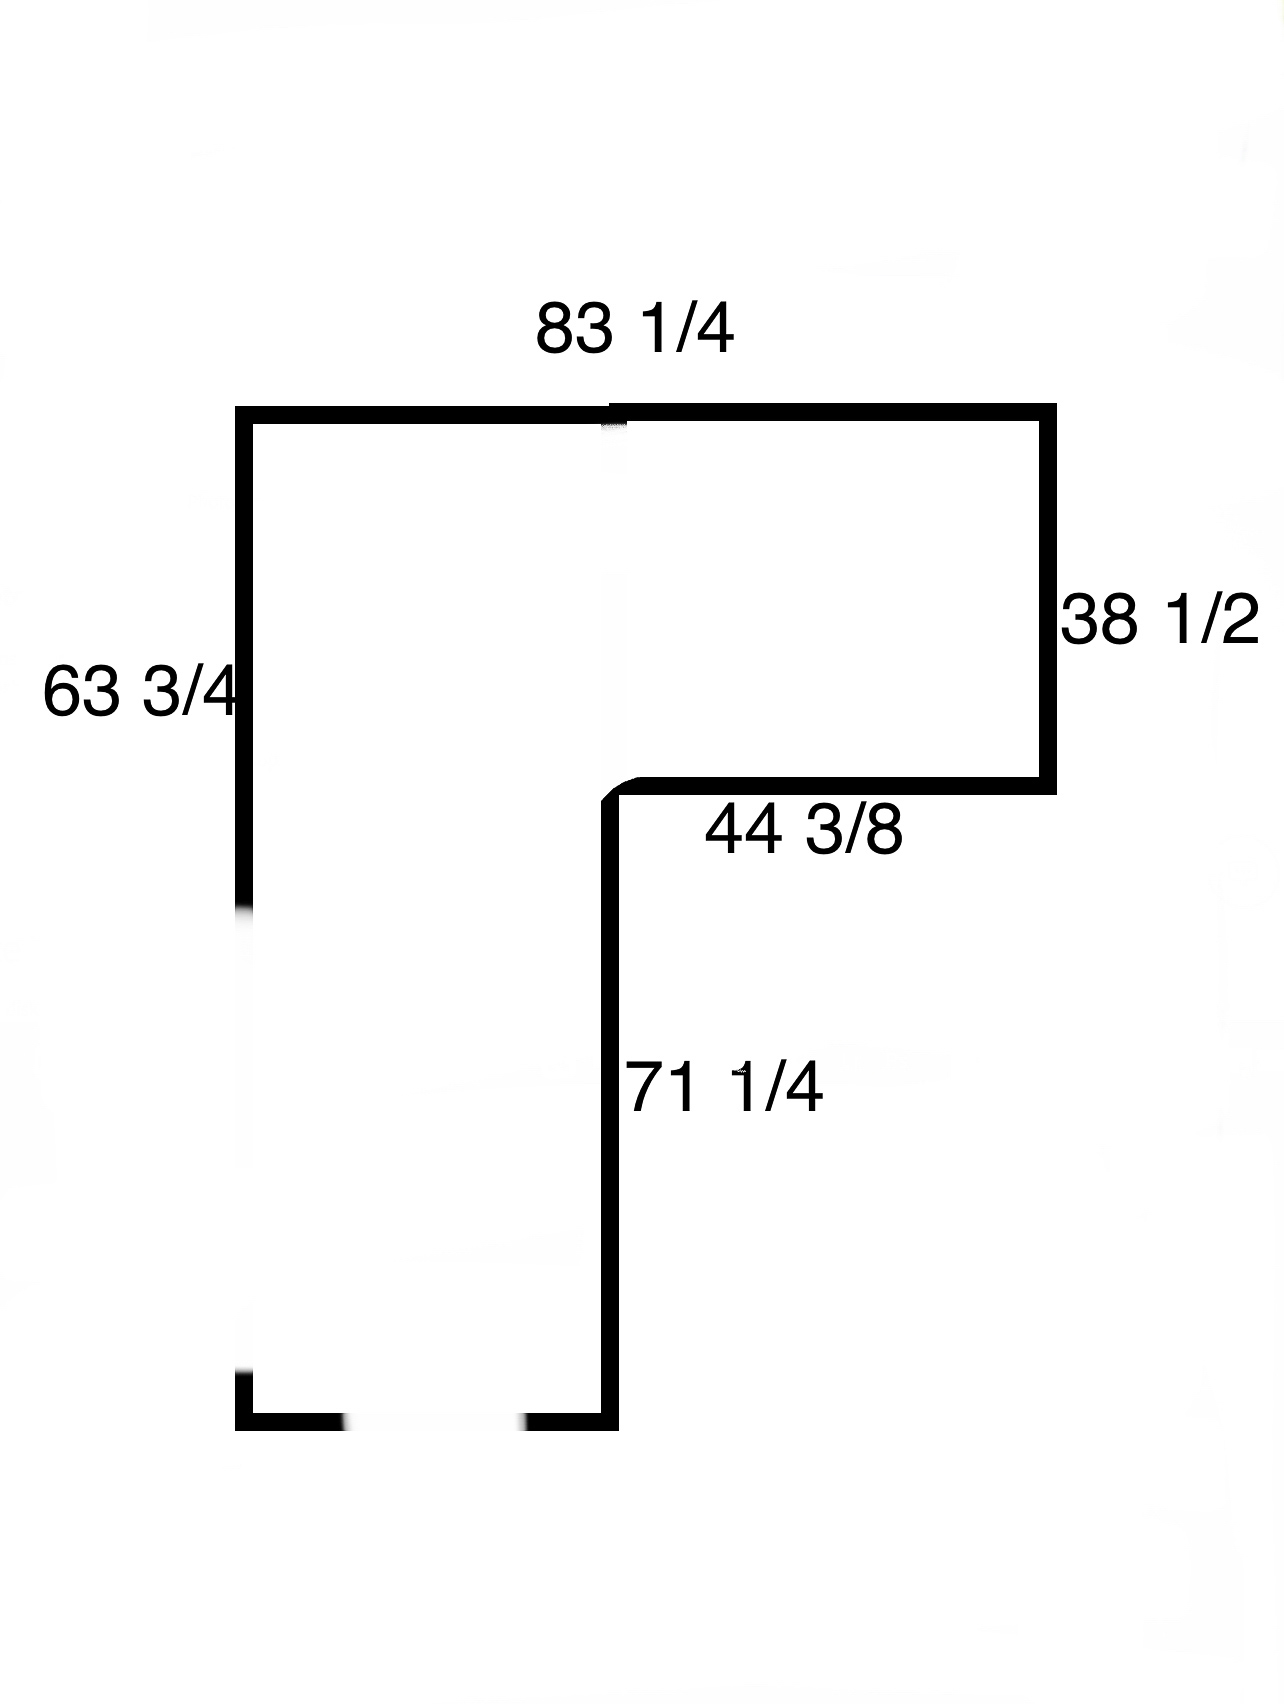
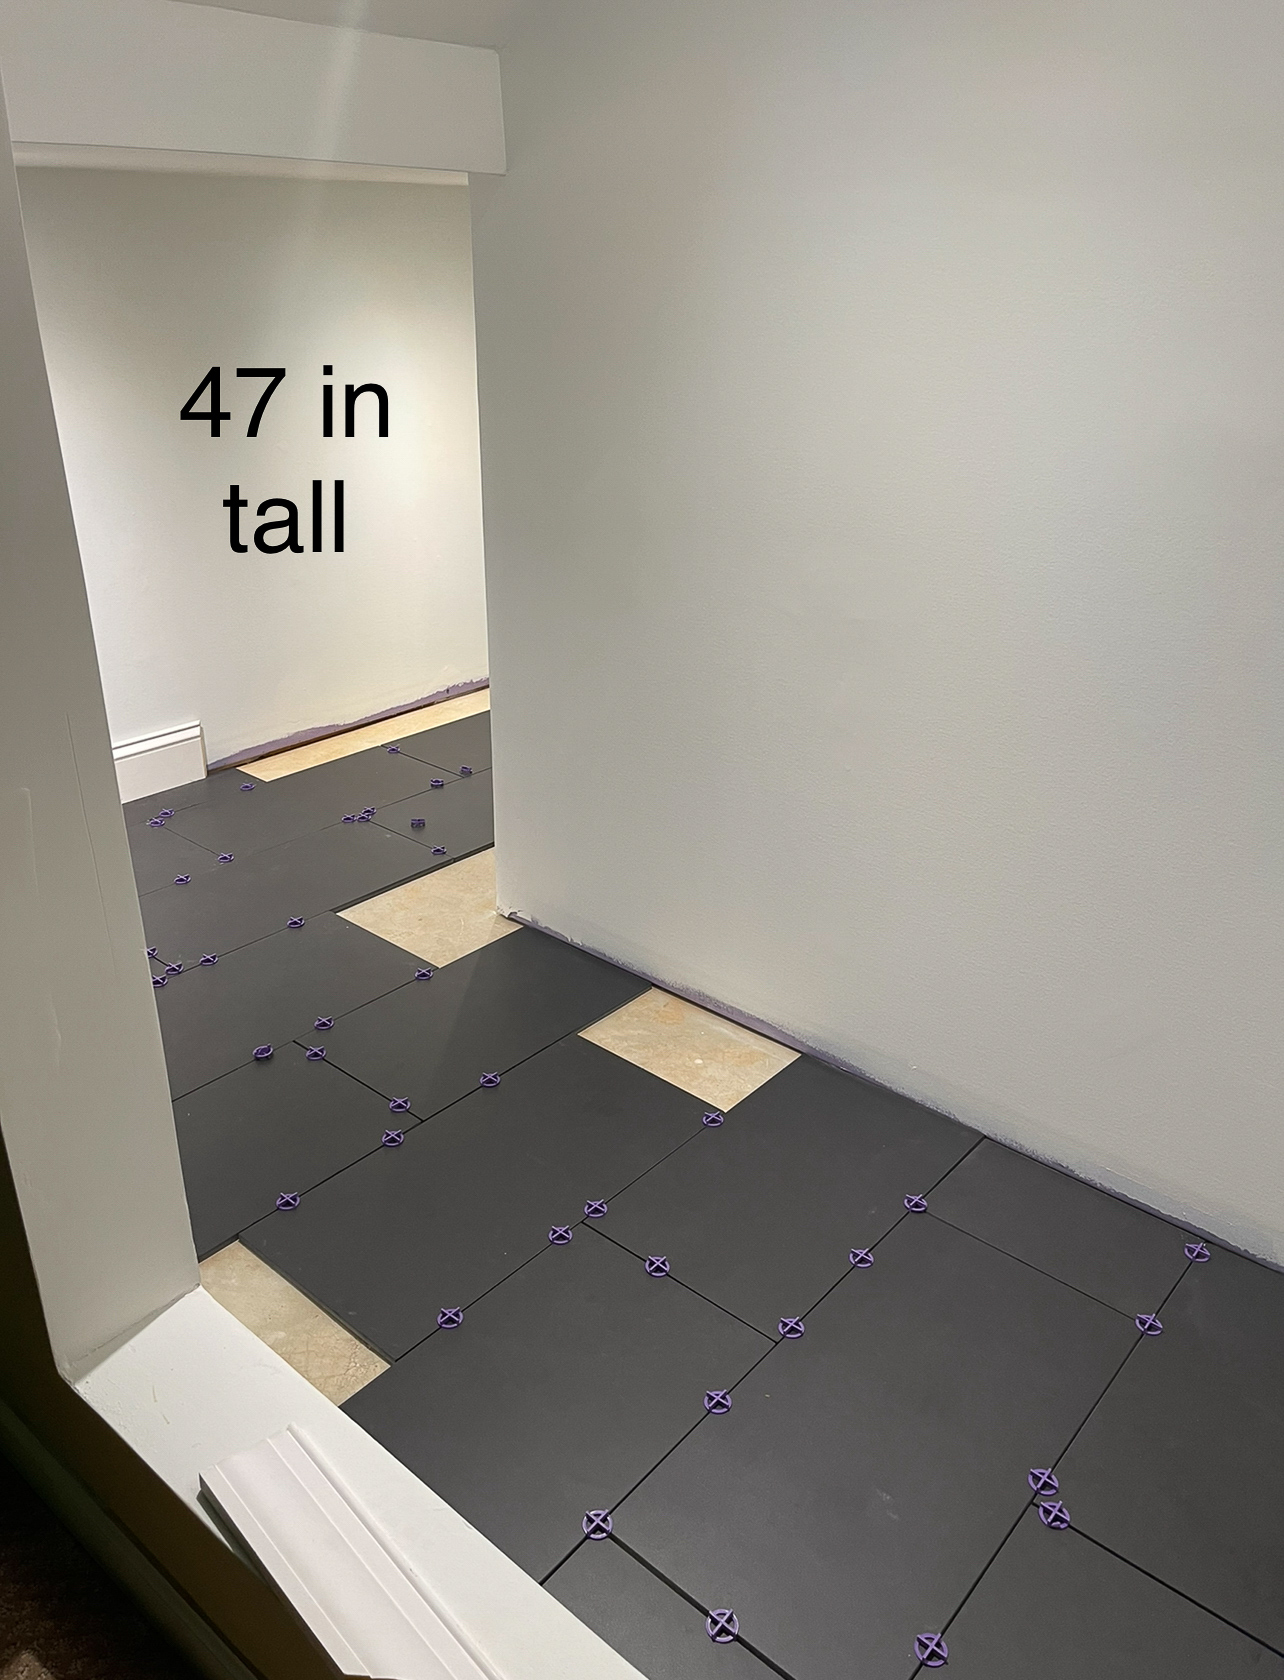
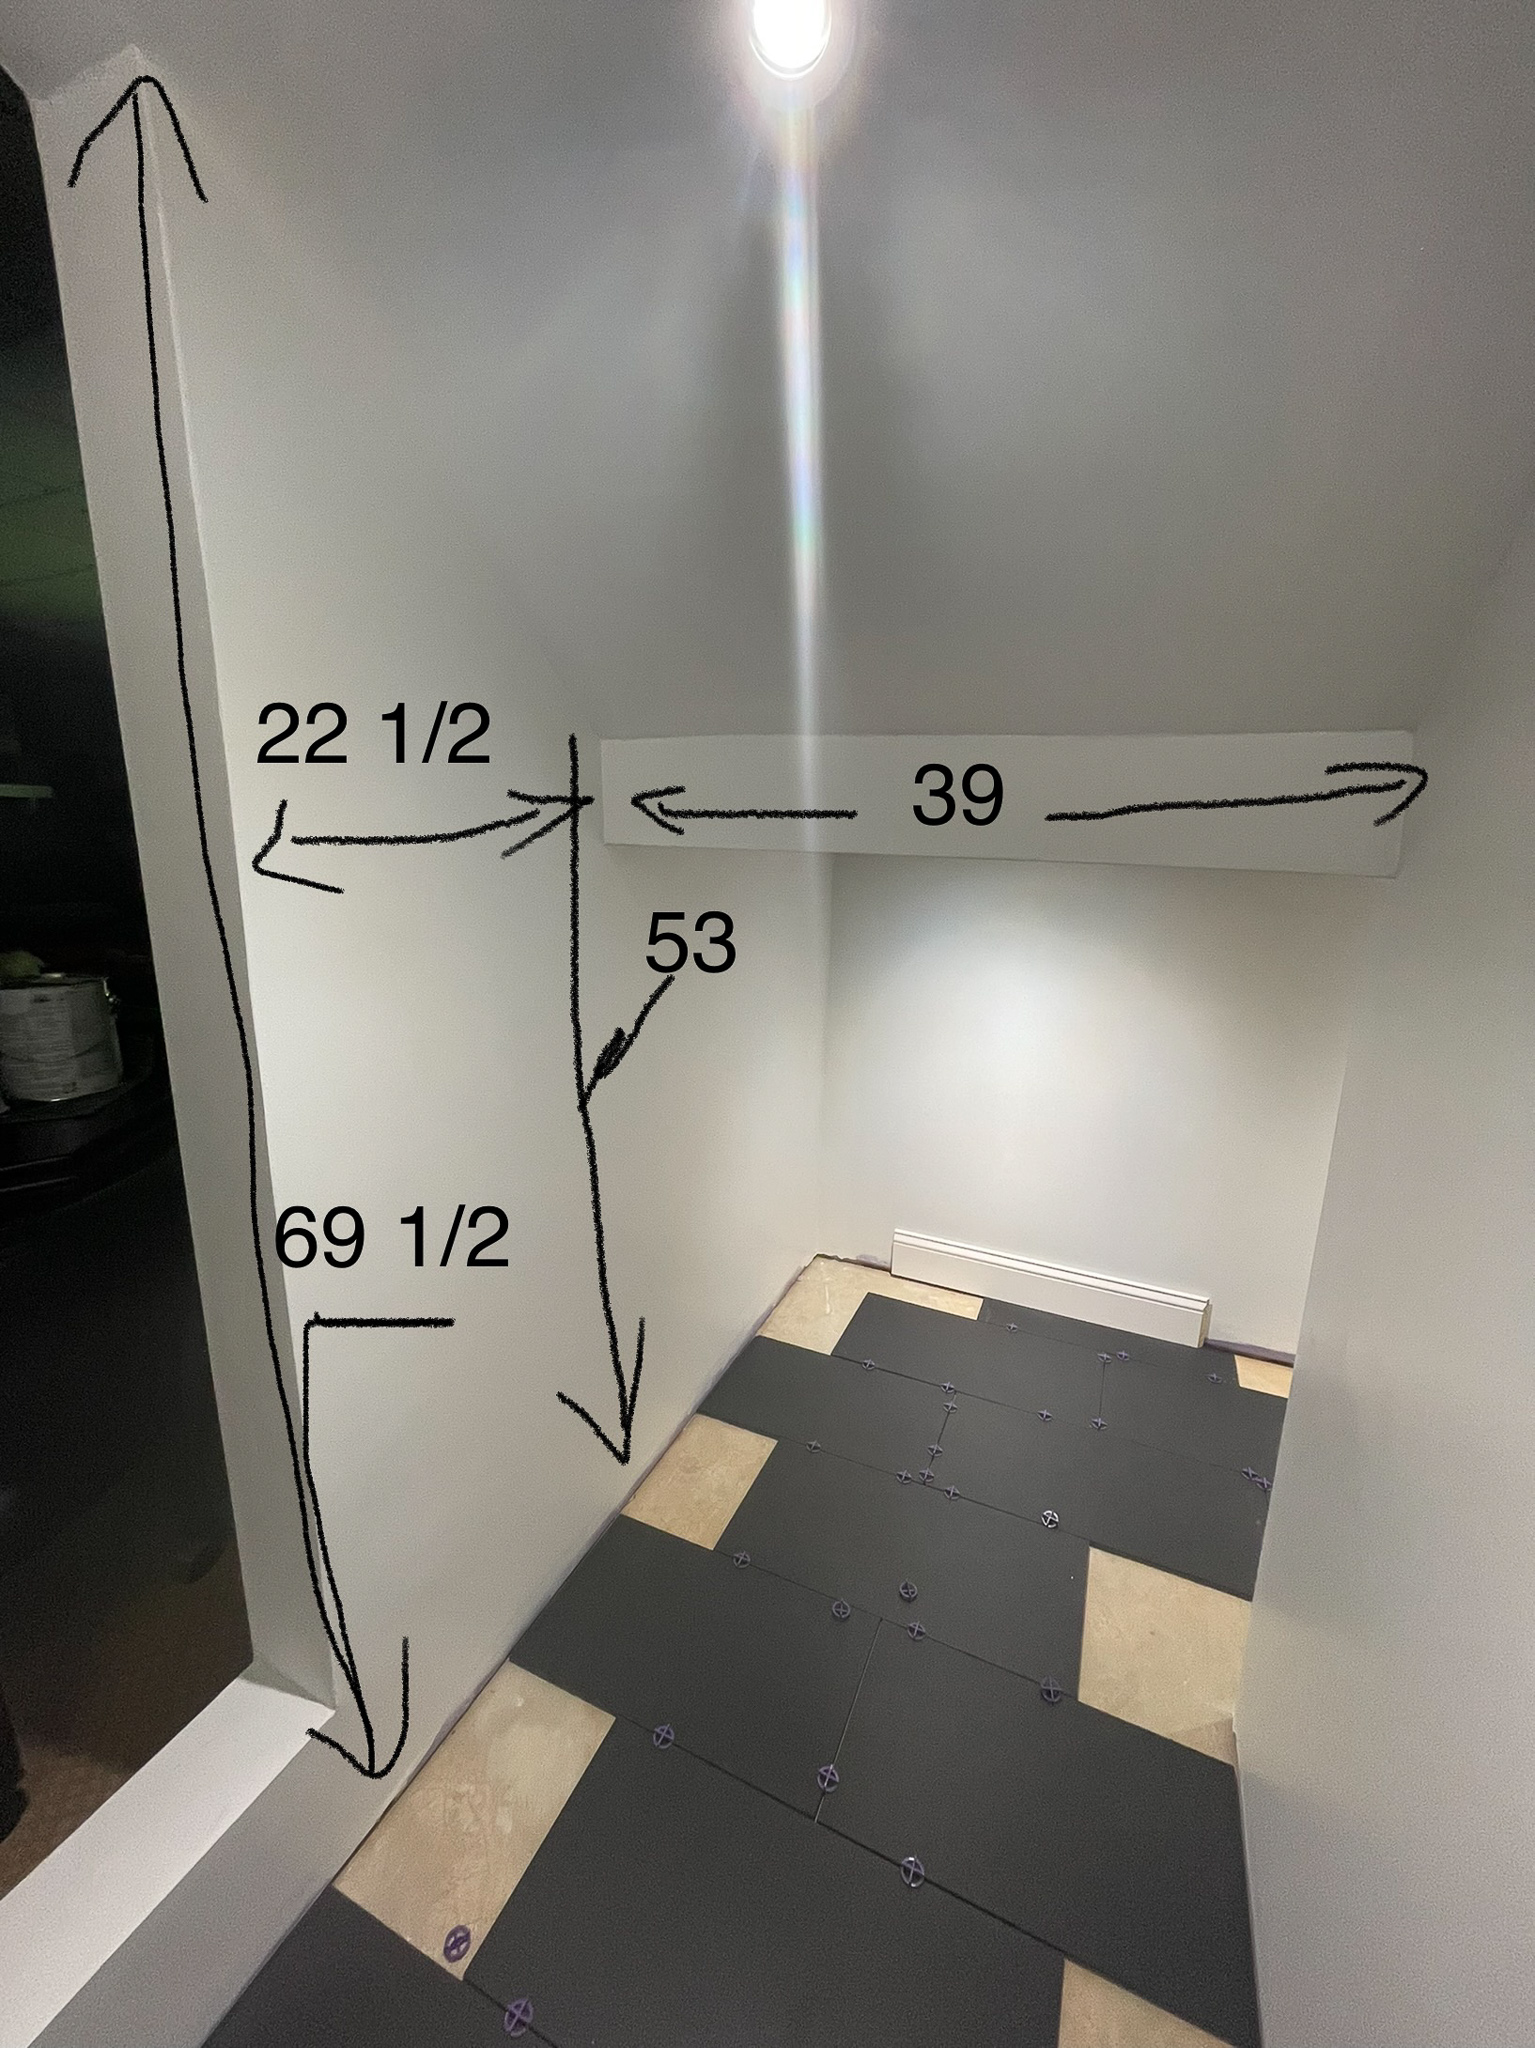
Super amateur drawings are below. Enjoy. Thanks to photoshop for failing on me last minute.
Before finishing the tile, I reached out to Vintage View. I was particularly interested in the W Series in matte black, to match the floors. But I’m no expert on anything related to wine cellars. This has been a huge research project and I’m still learning. I noticed everything I thought I may need was in stock and was in no hurry to reach out until the last minute. I put in a request for a complimentary design workup to see if they perhaps came up with something I hadn’t thought of. I ended up working with Natalie. We scheduled a phone meeting for noon, and at 11:30 a.m. I checked my email and read that getting some dimensions and other drawings/pictures together would be helpful for the call. As luck would have it, Photoshop failed on me at the wrong time. I need a new computer but have been holding off until hopefully September to hopefully get the one with the new chip in it. Anyway, I sent the most amateur drawings and pictures I’ve ever come up with, as quickly was possible just using the markup feature on my phone. *face palm* BUT, the design team were able to use what I provided to create a rendering of my space and the racks I would need given the space I have available.
I originally planned to discuss my experience with Vintage View on this post, but it ended up being very long and I decided to make it a post all on it’s own. Read about my entire experience with Vintage View HERE.
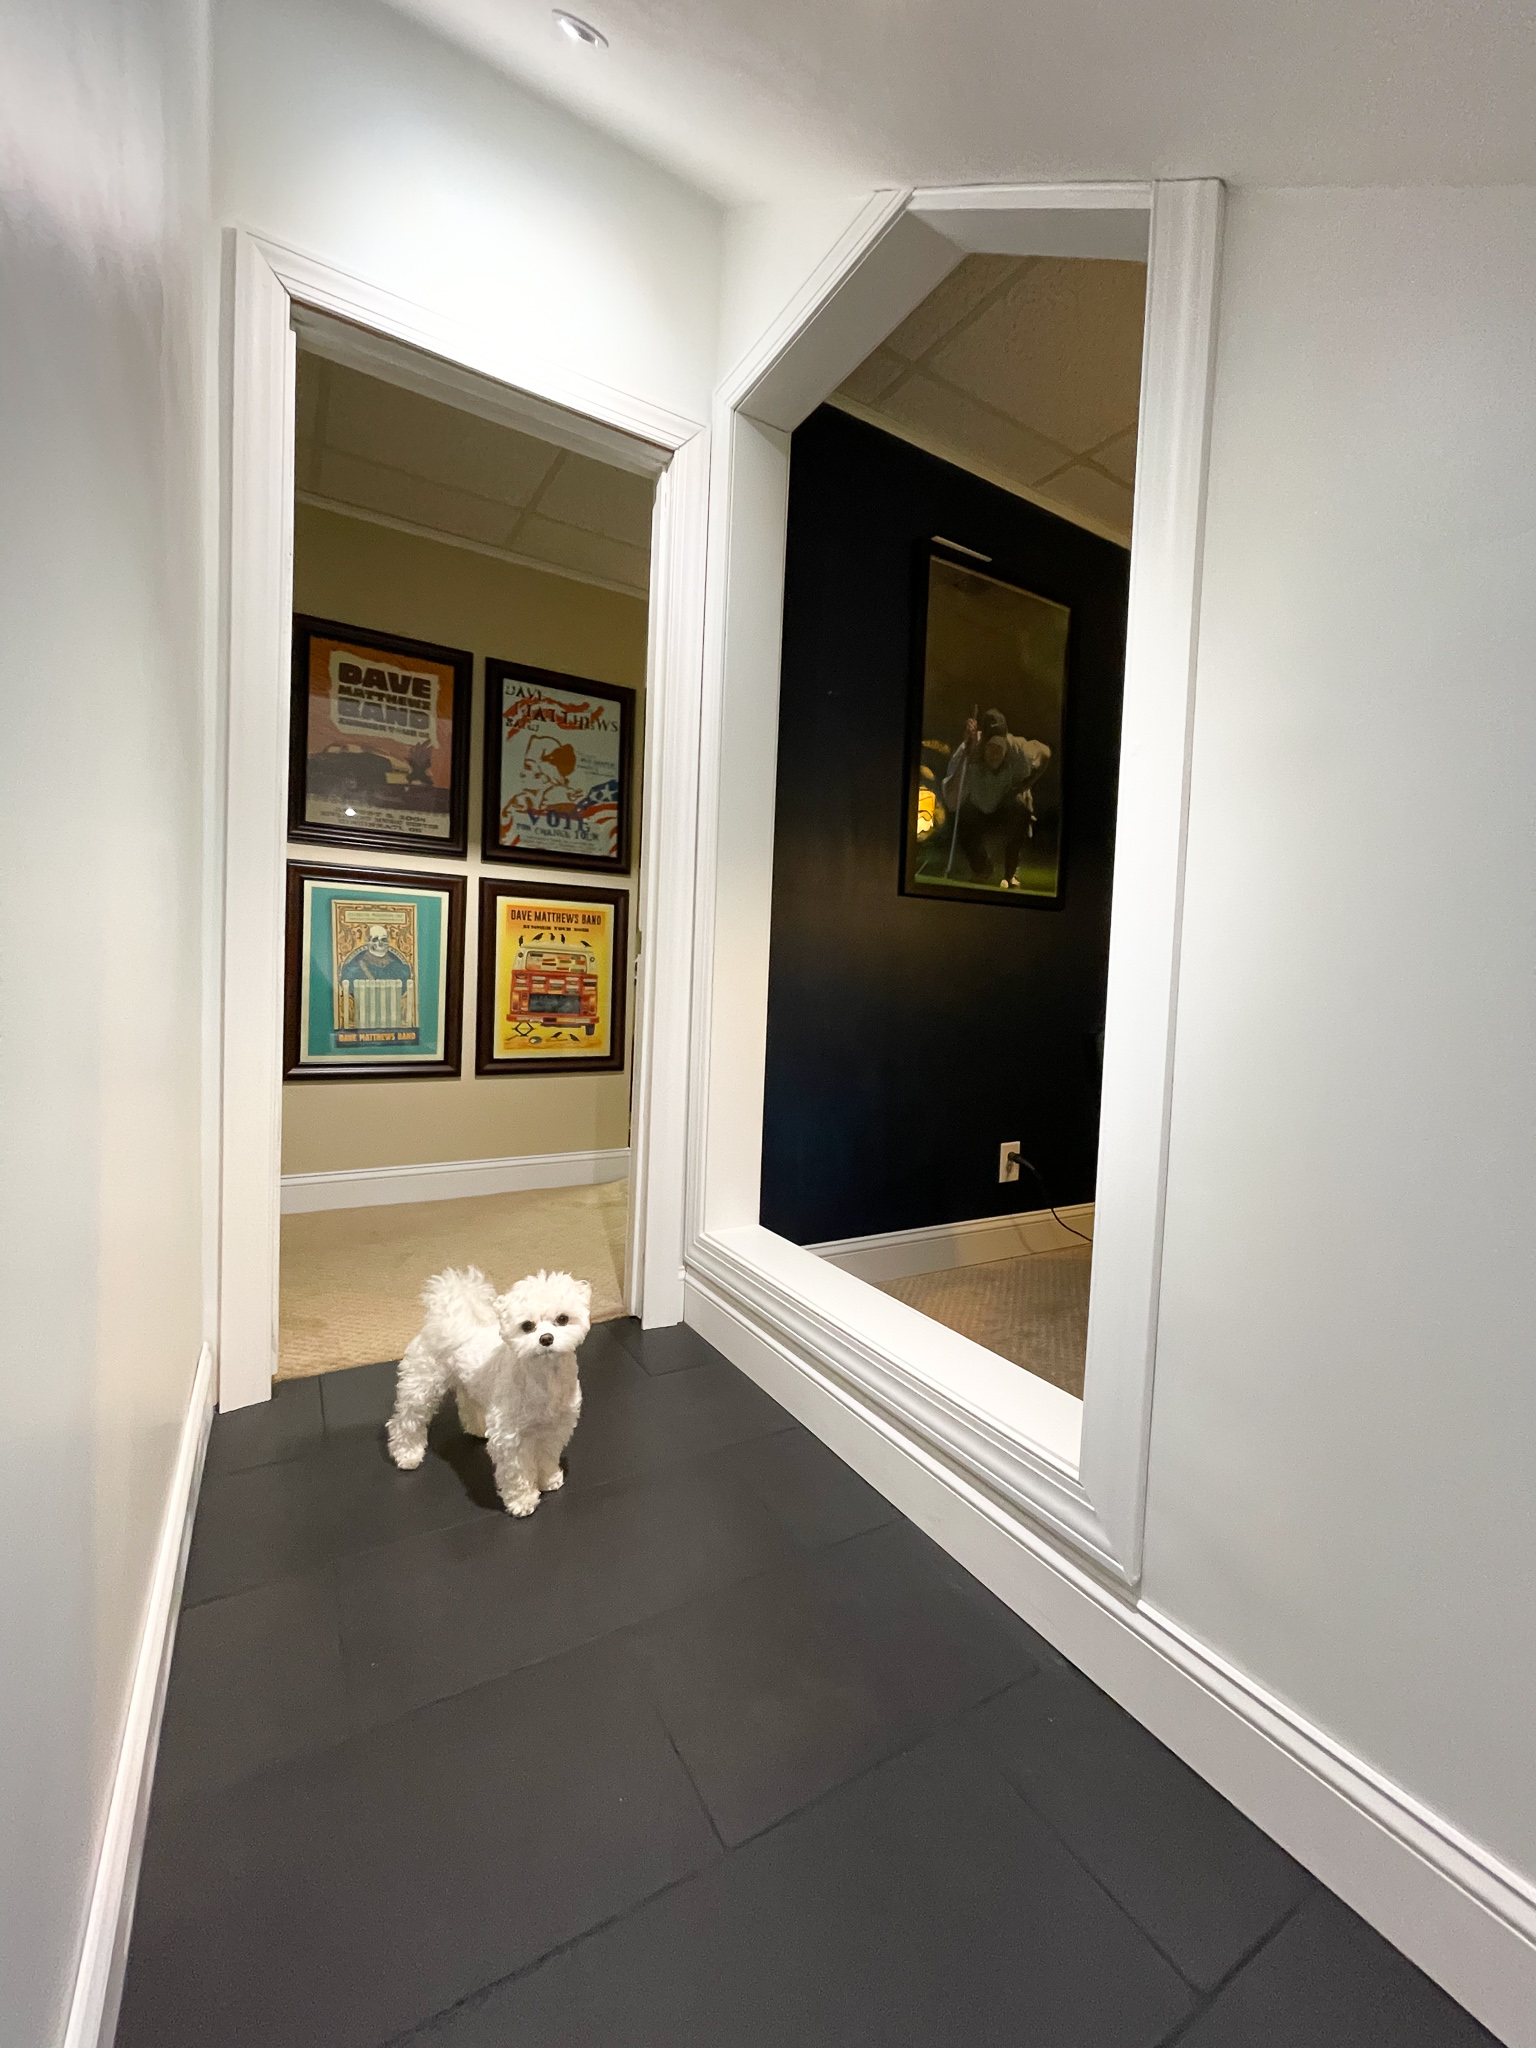
Trimwork complete
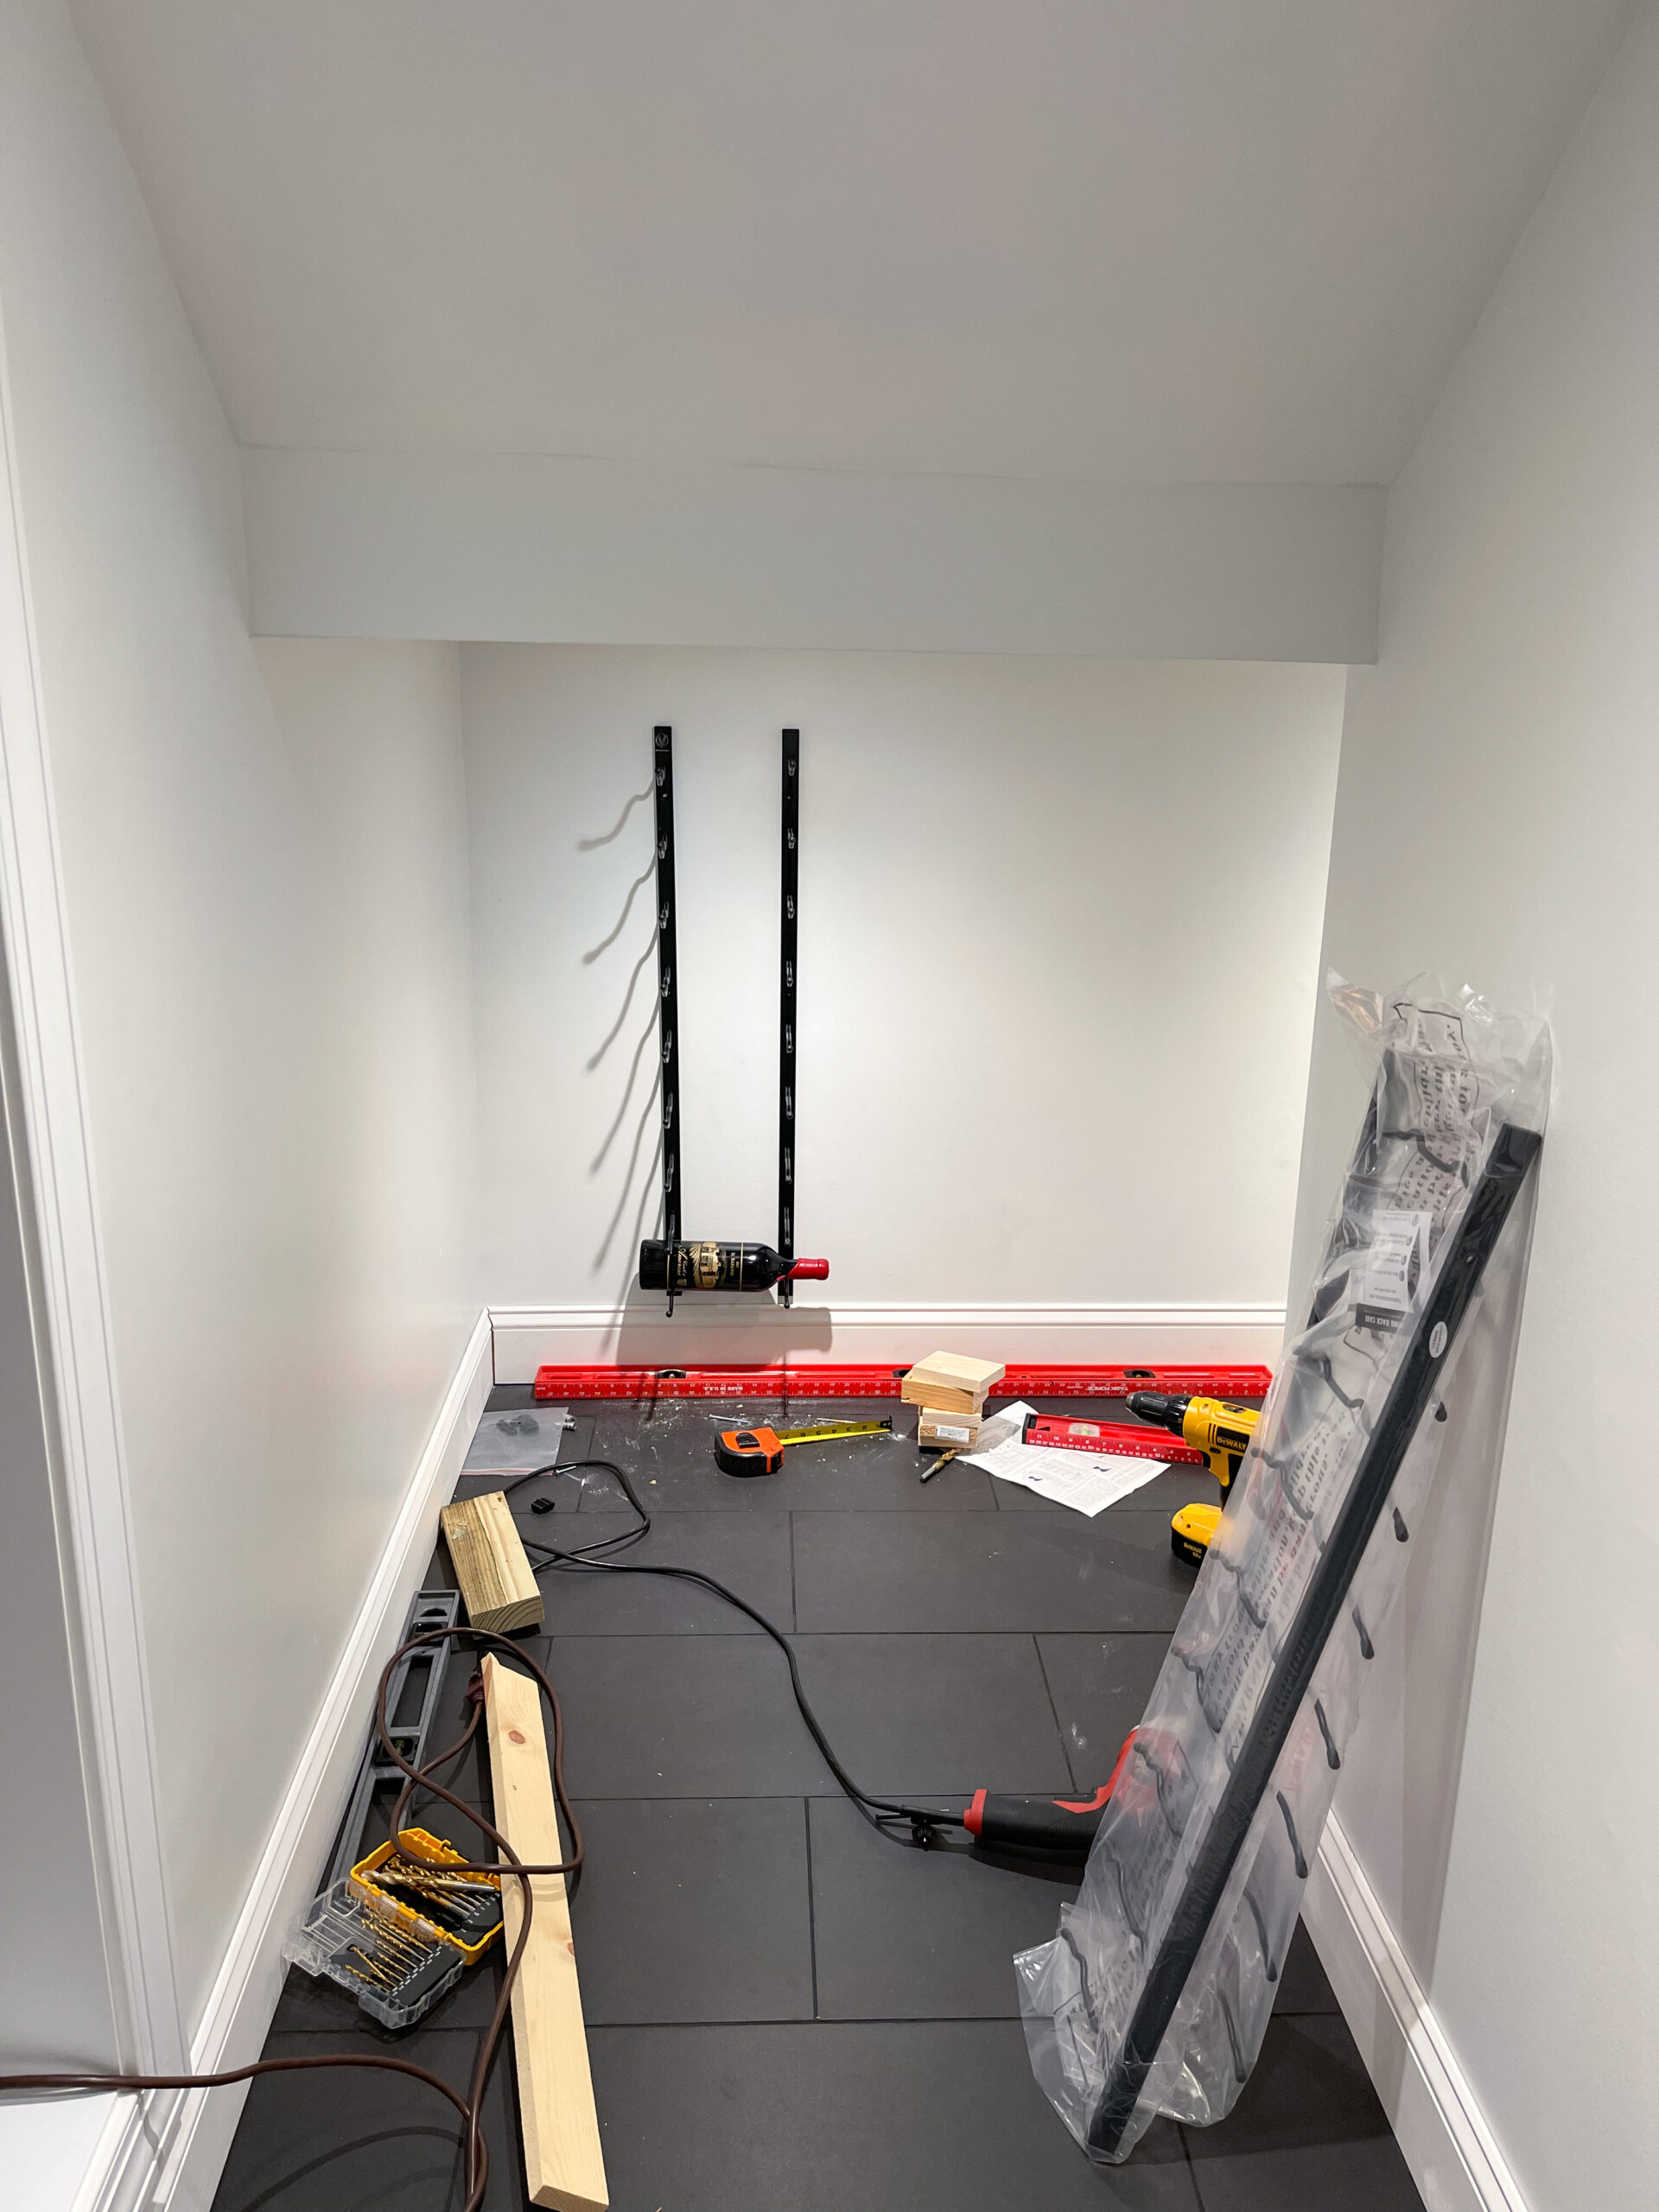
Delivery and Installation
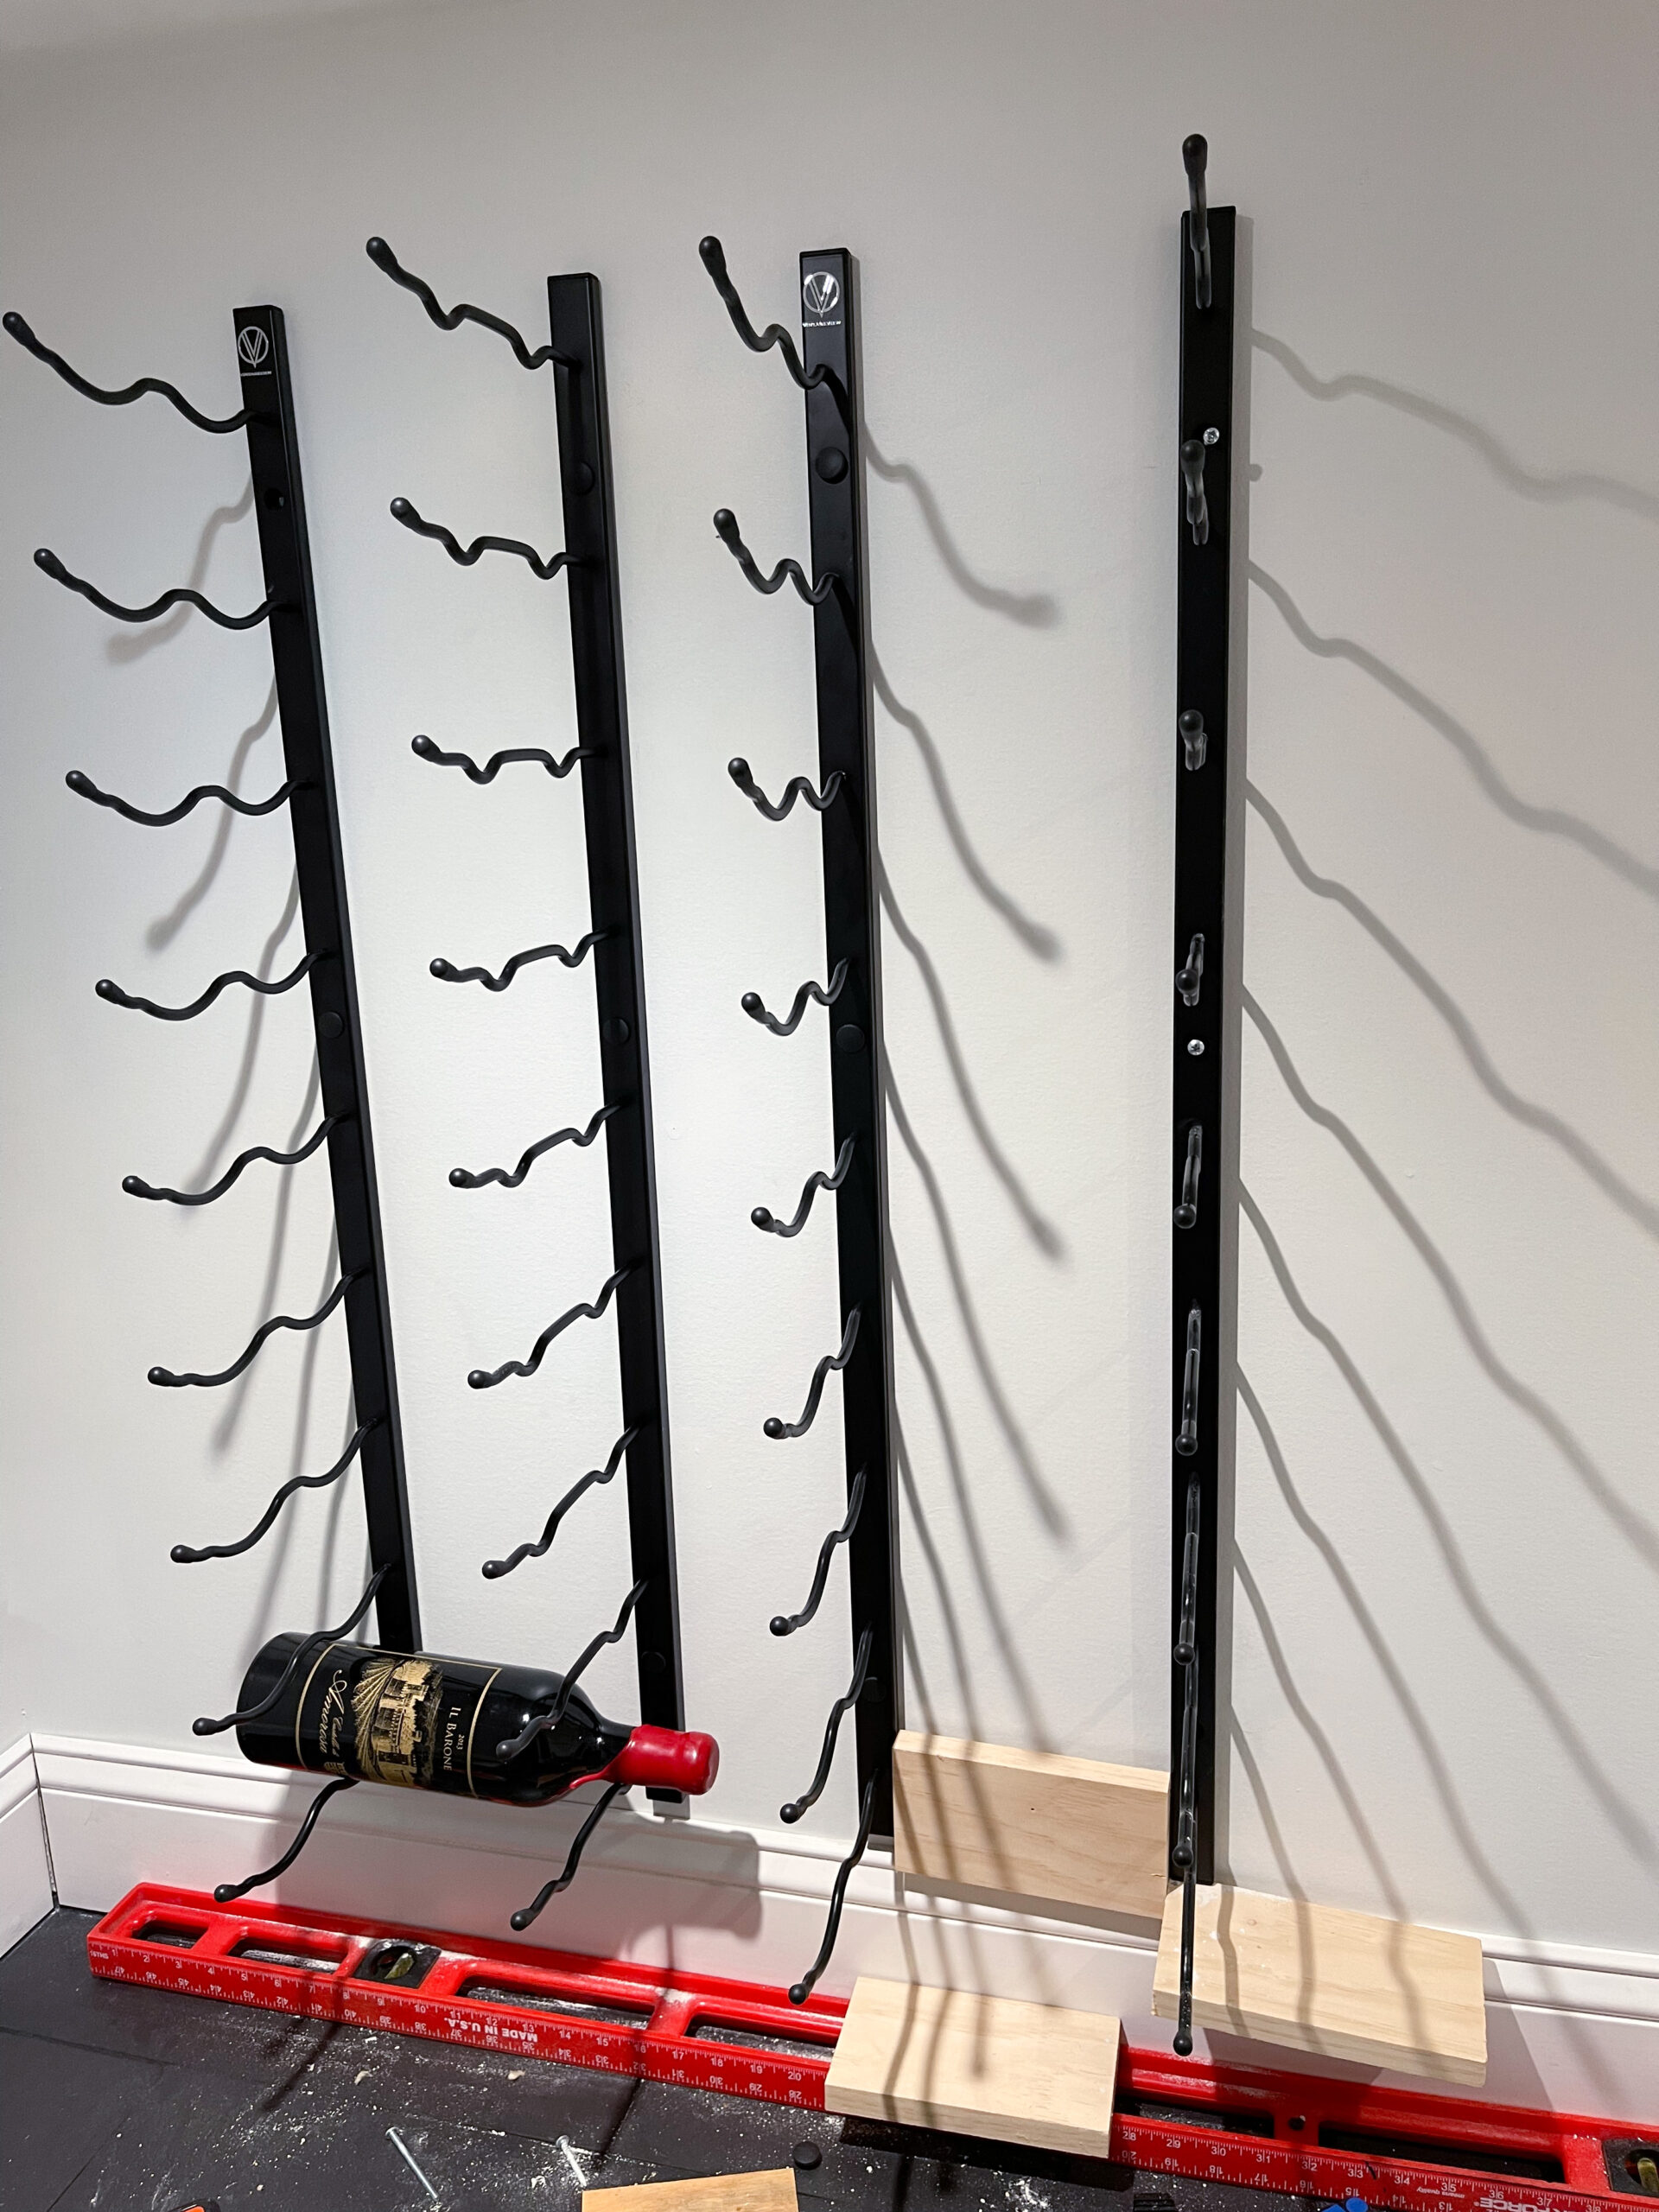
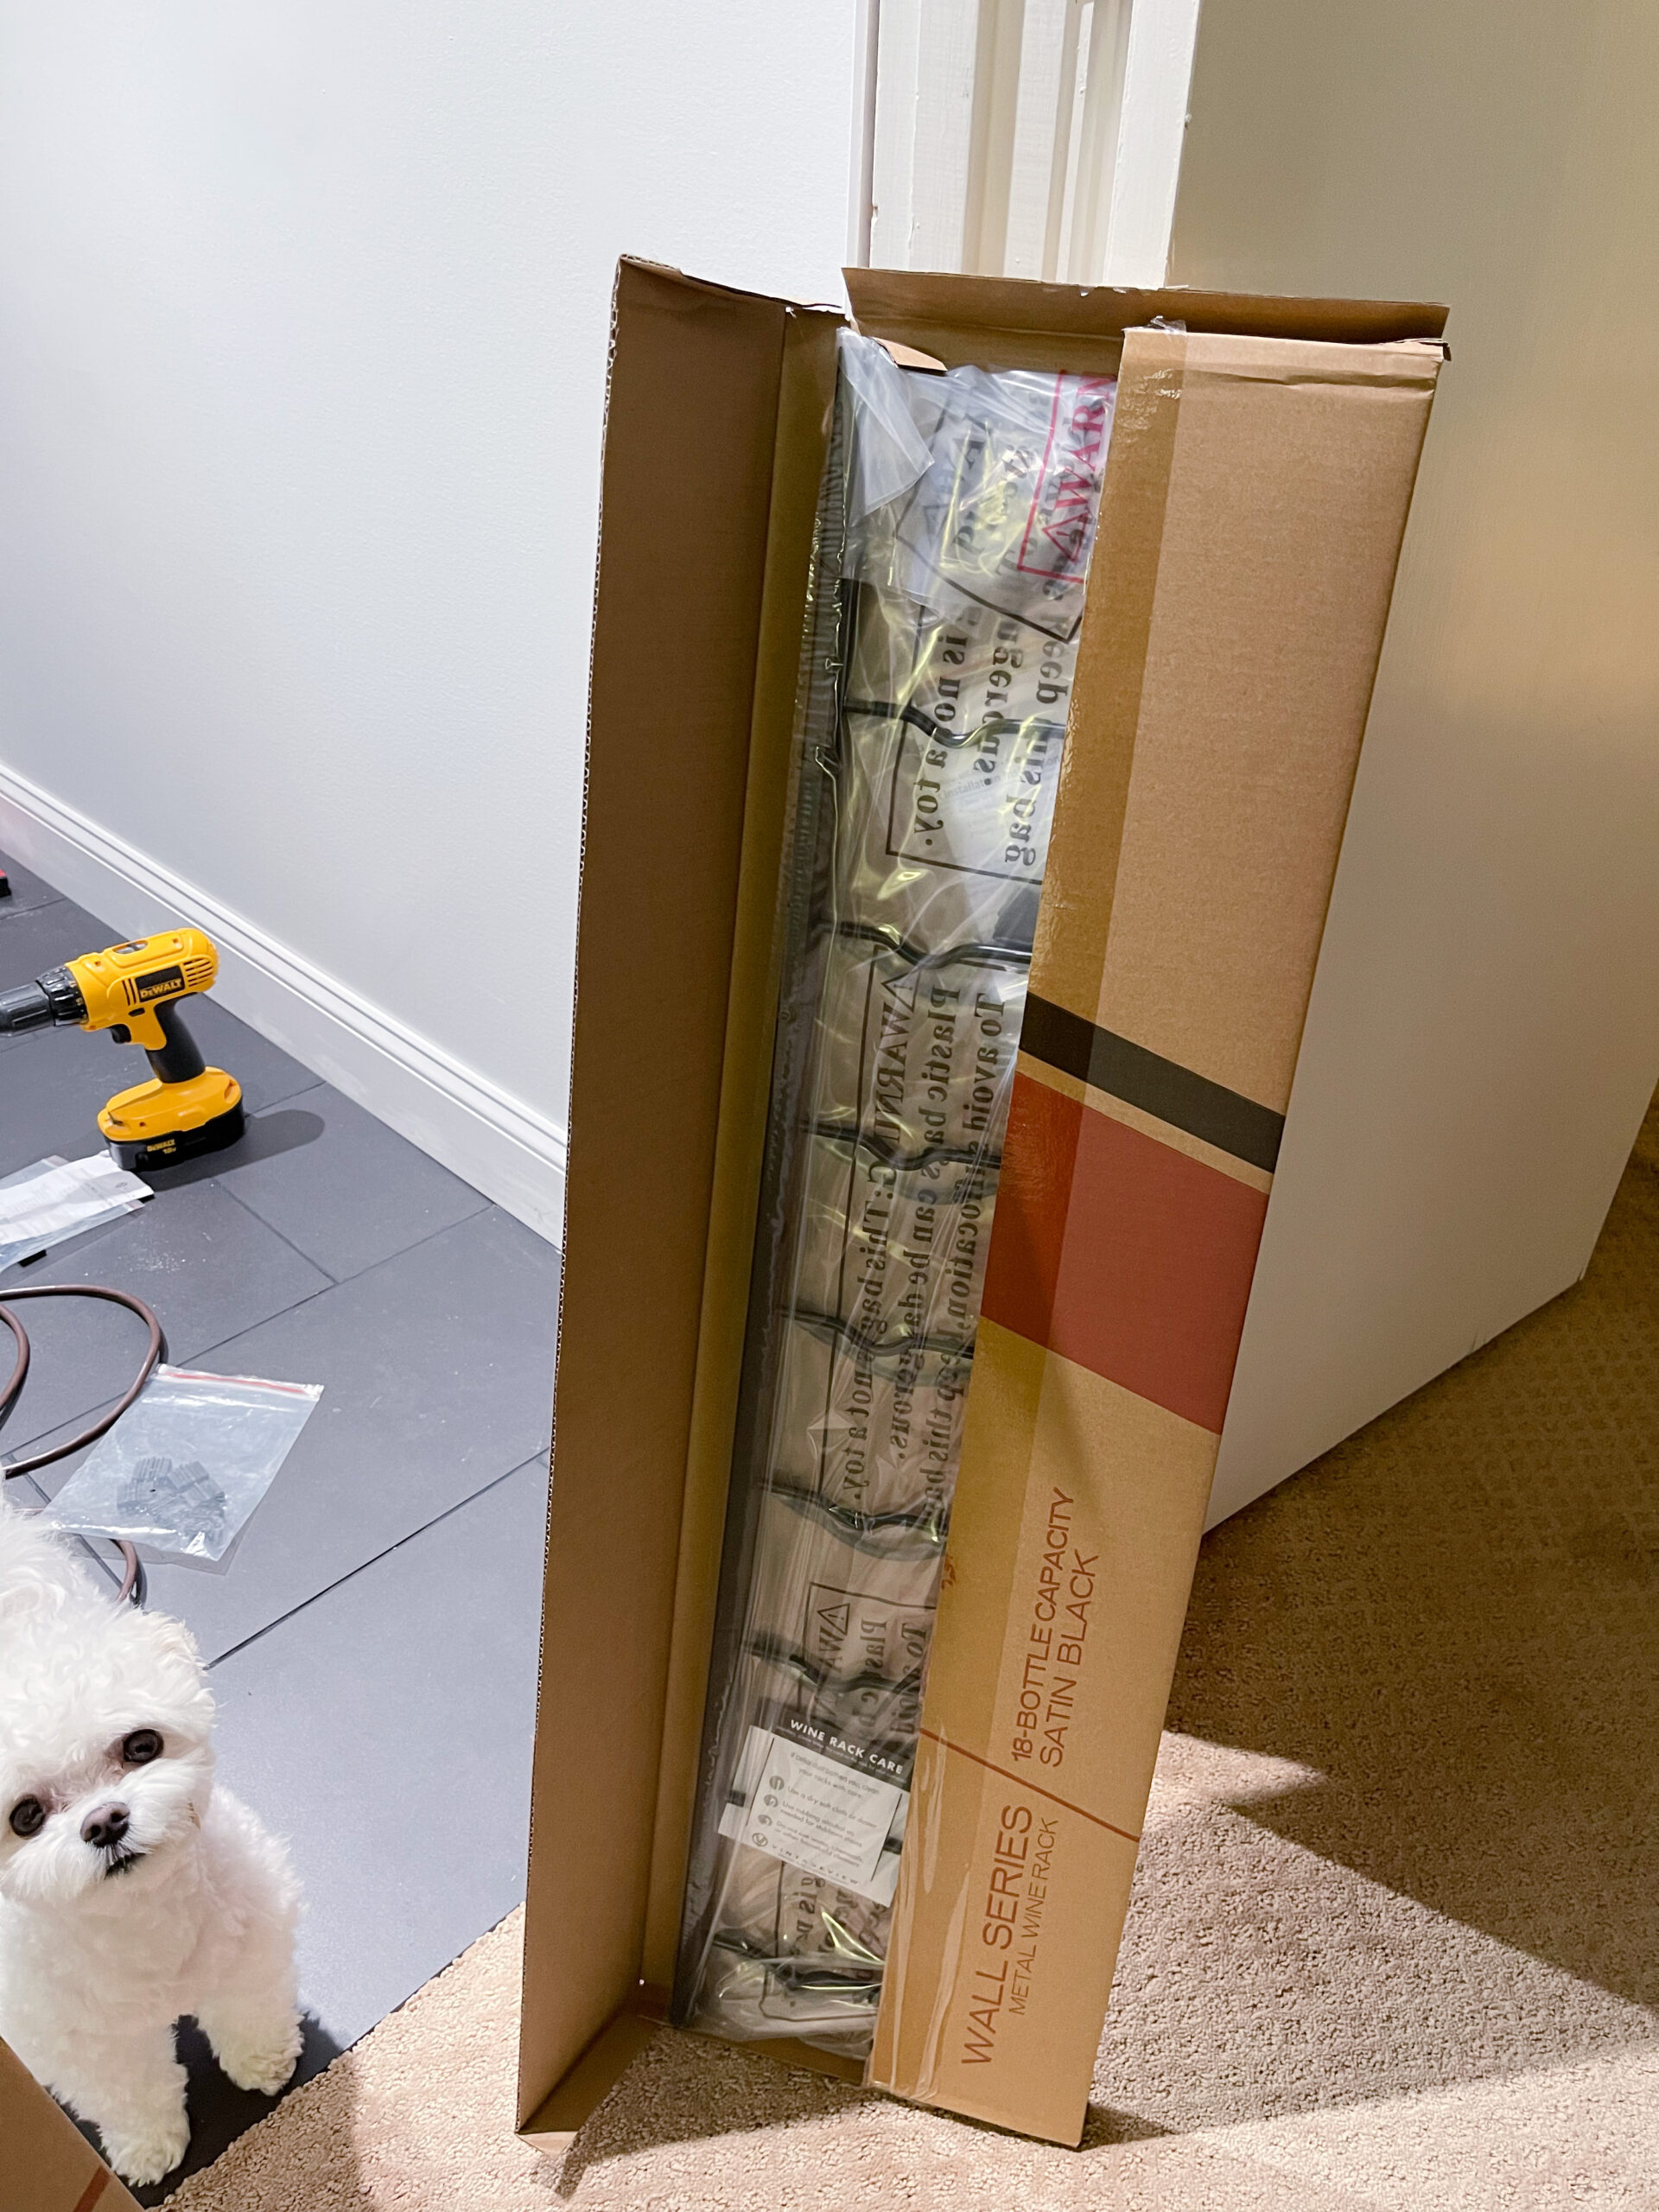
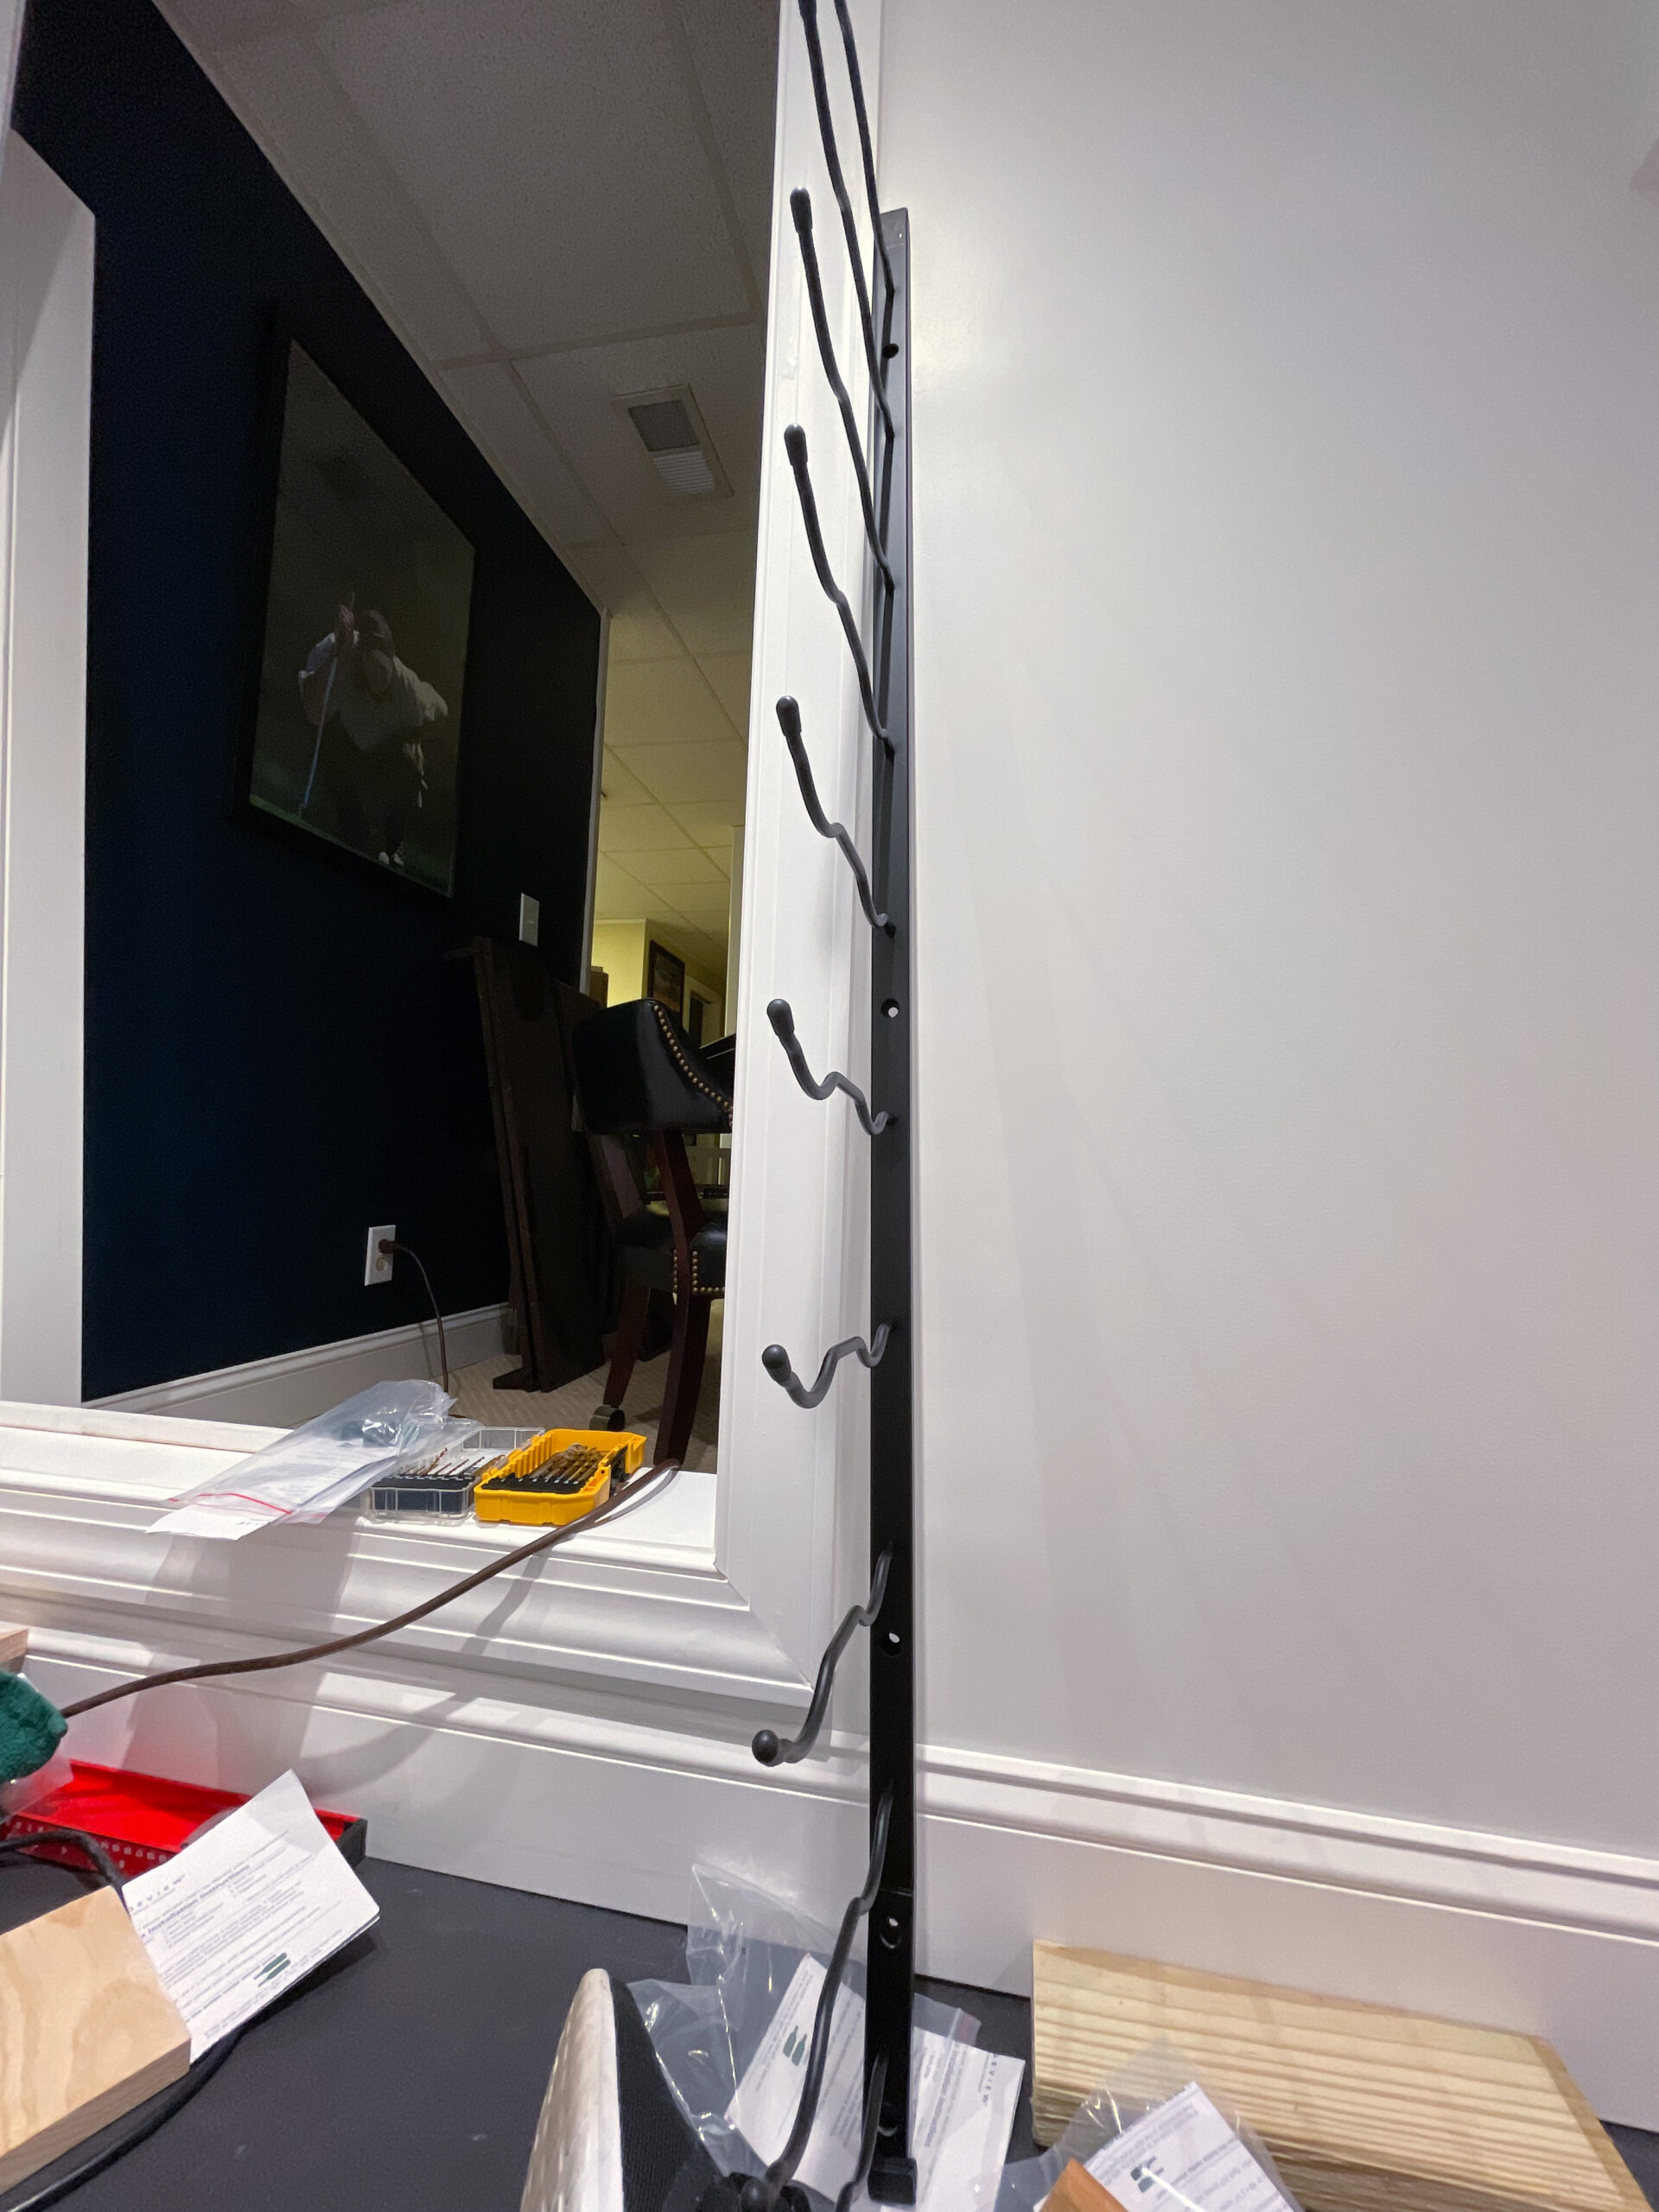
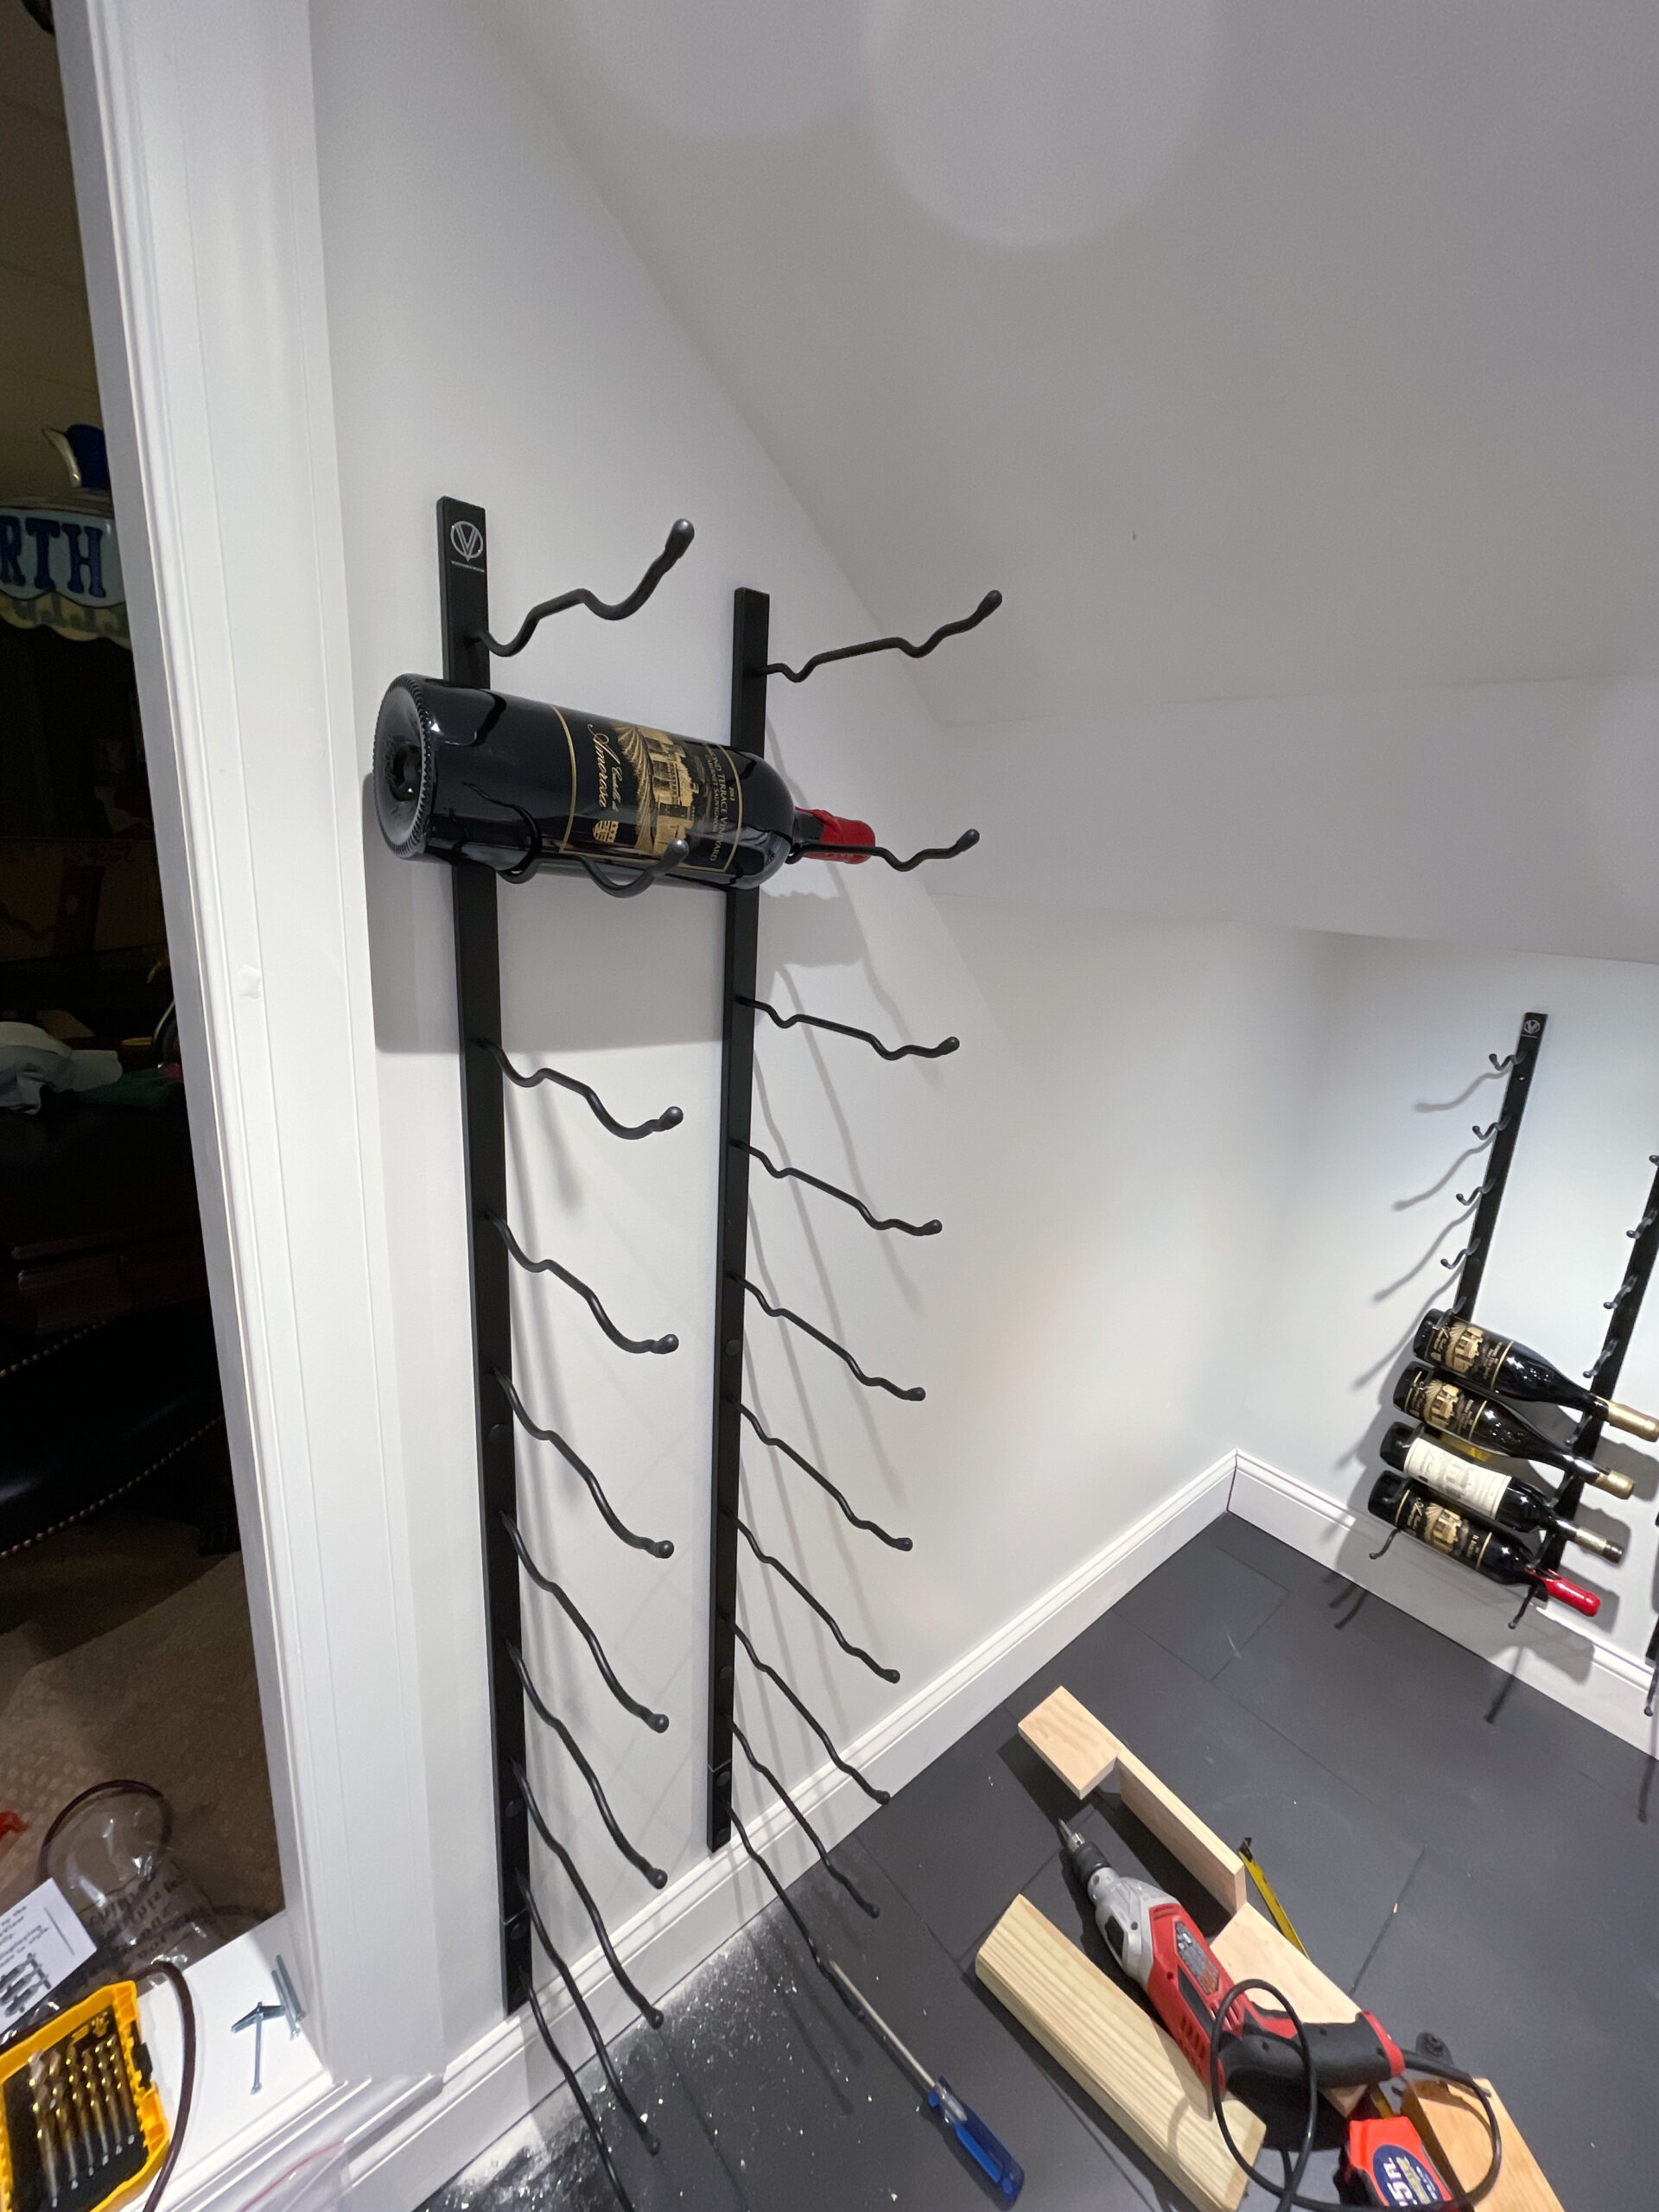
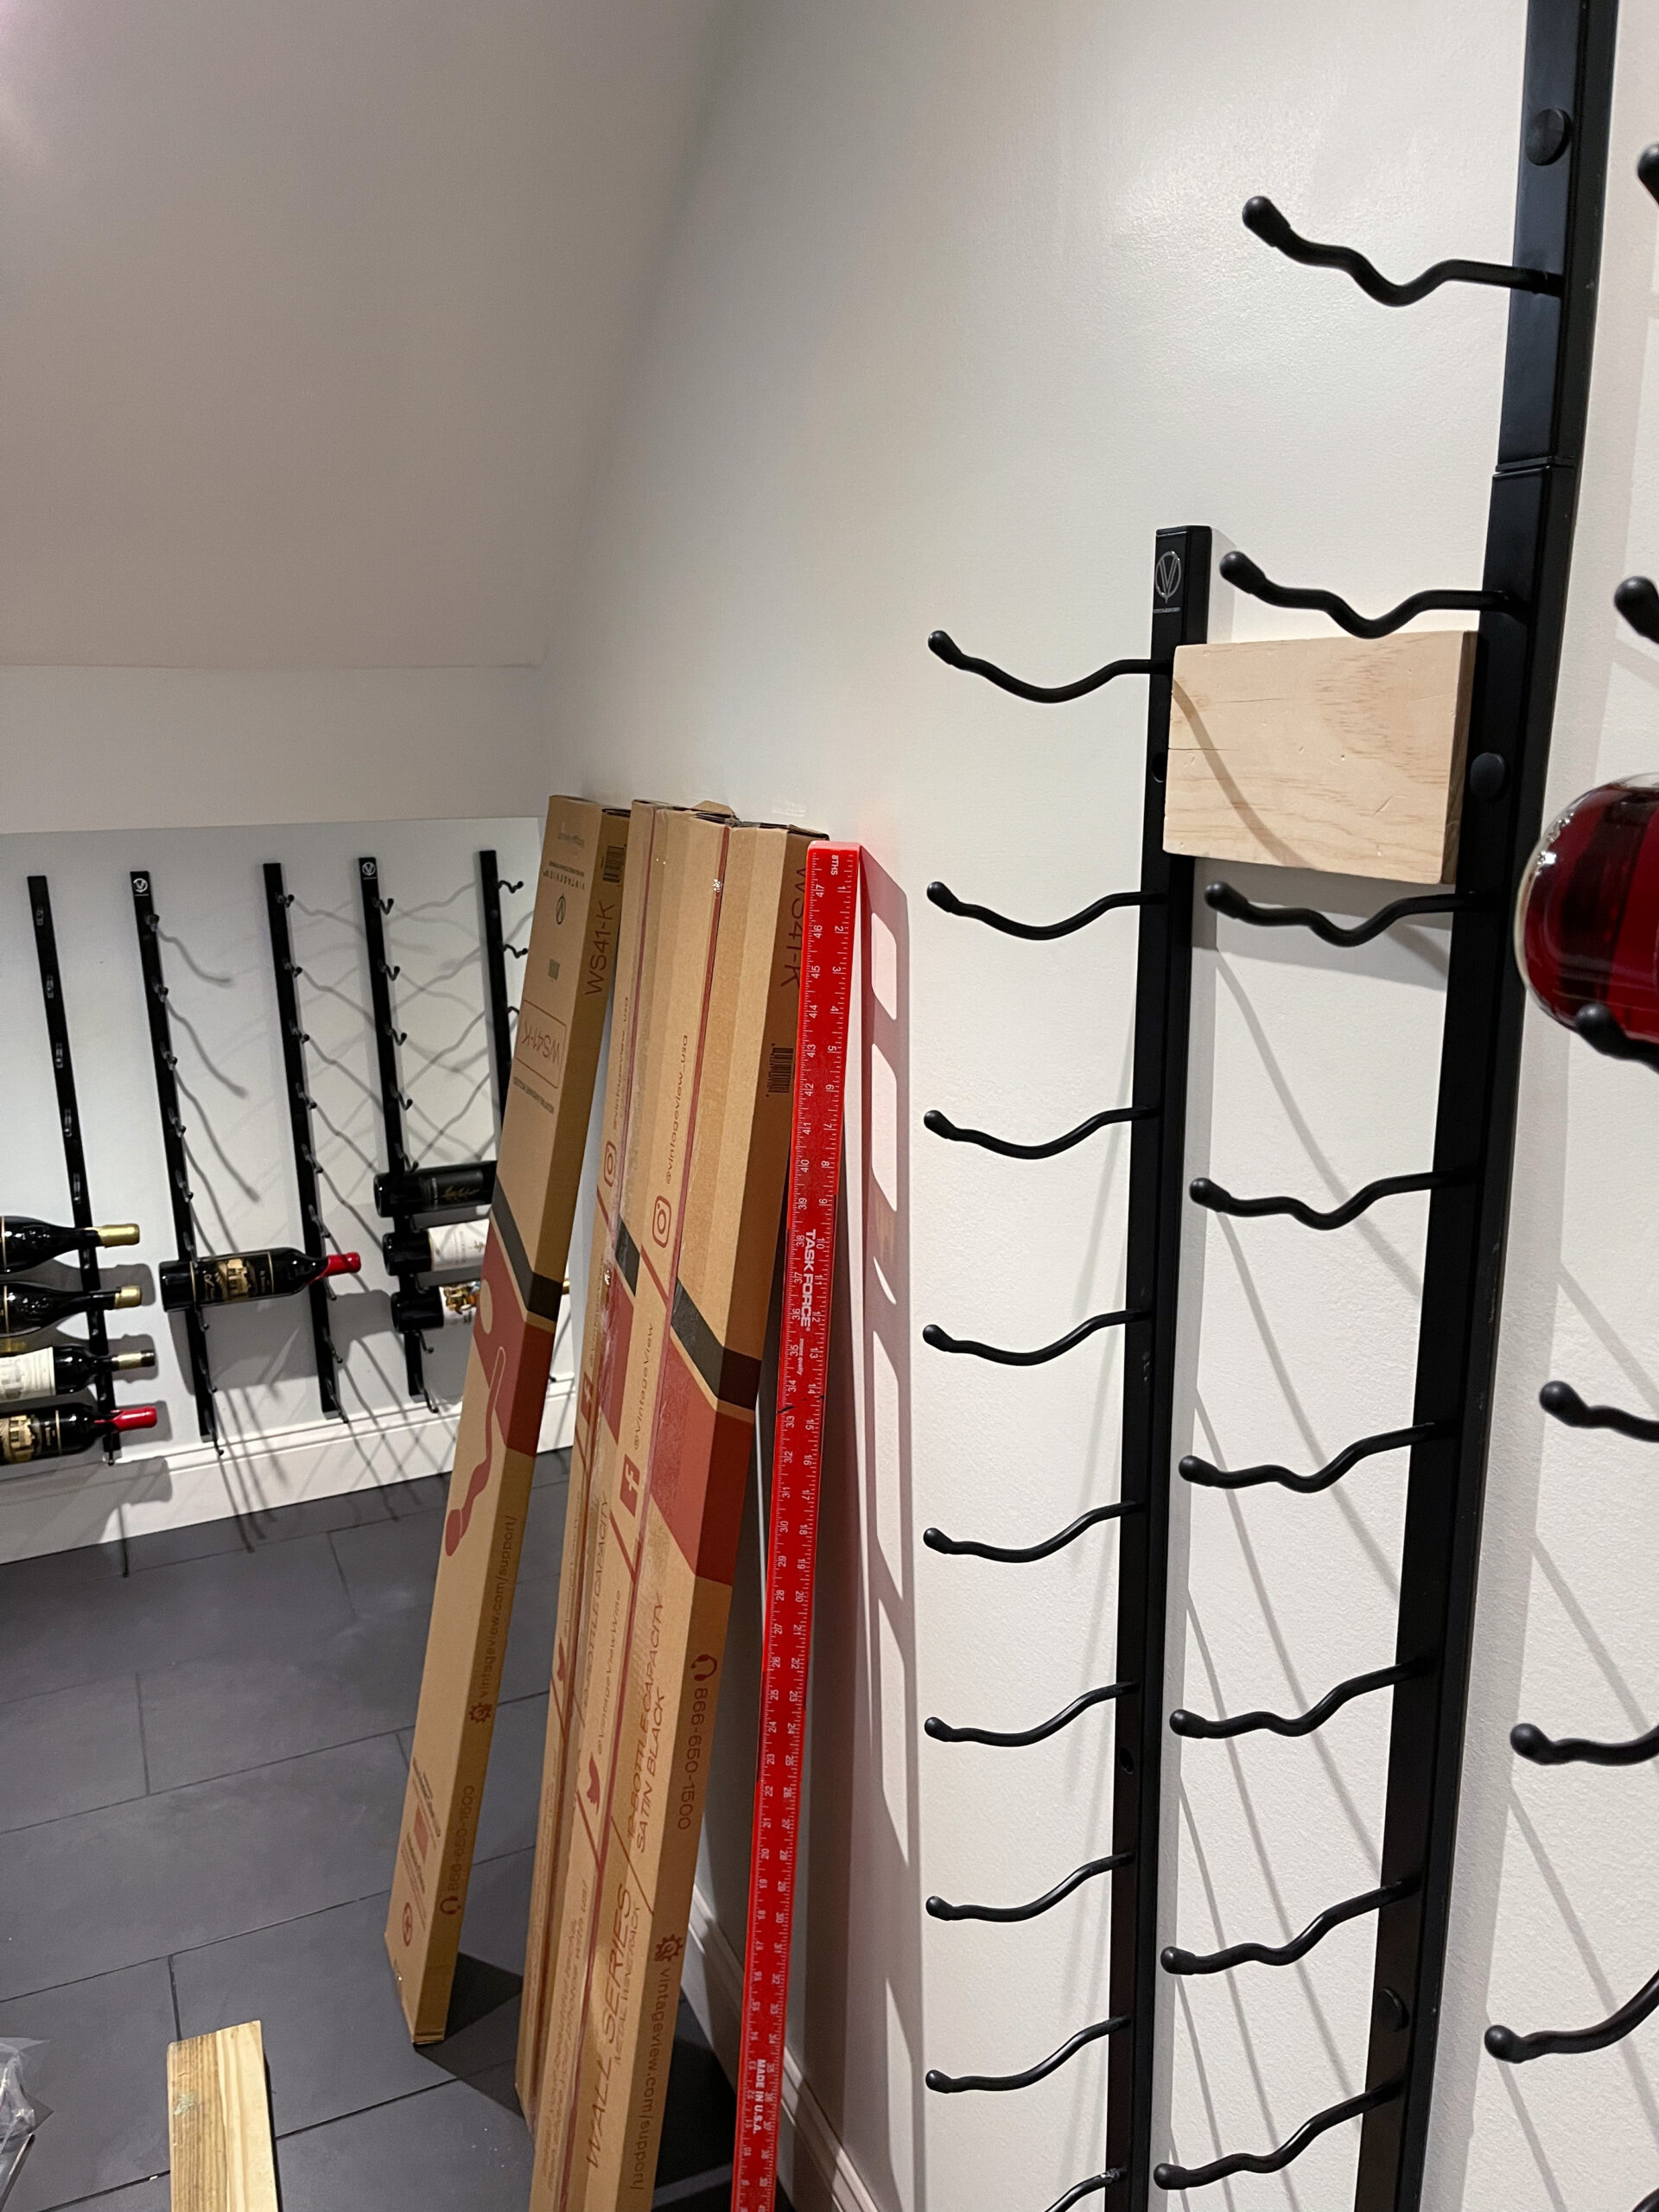
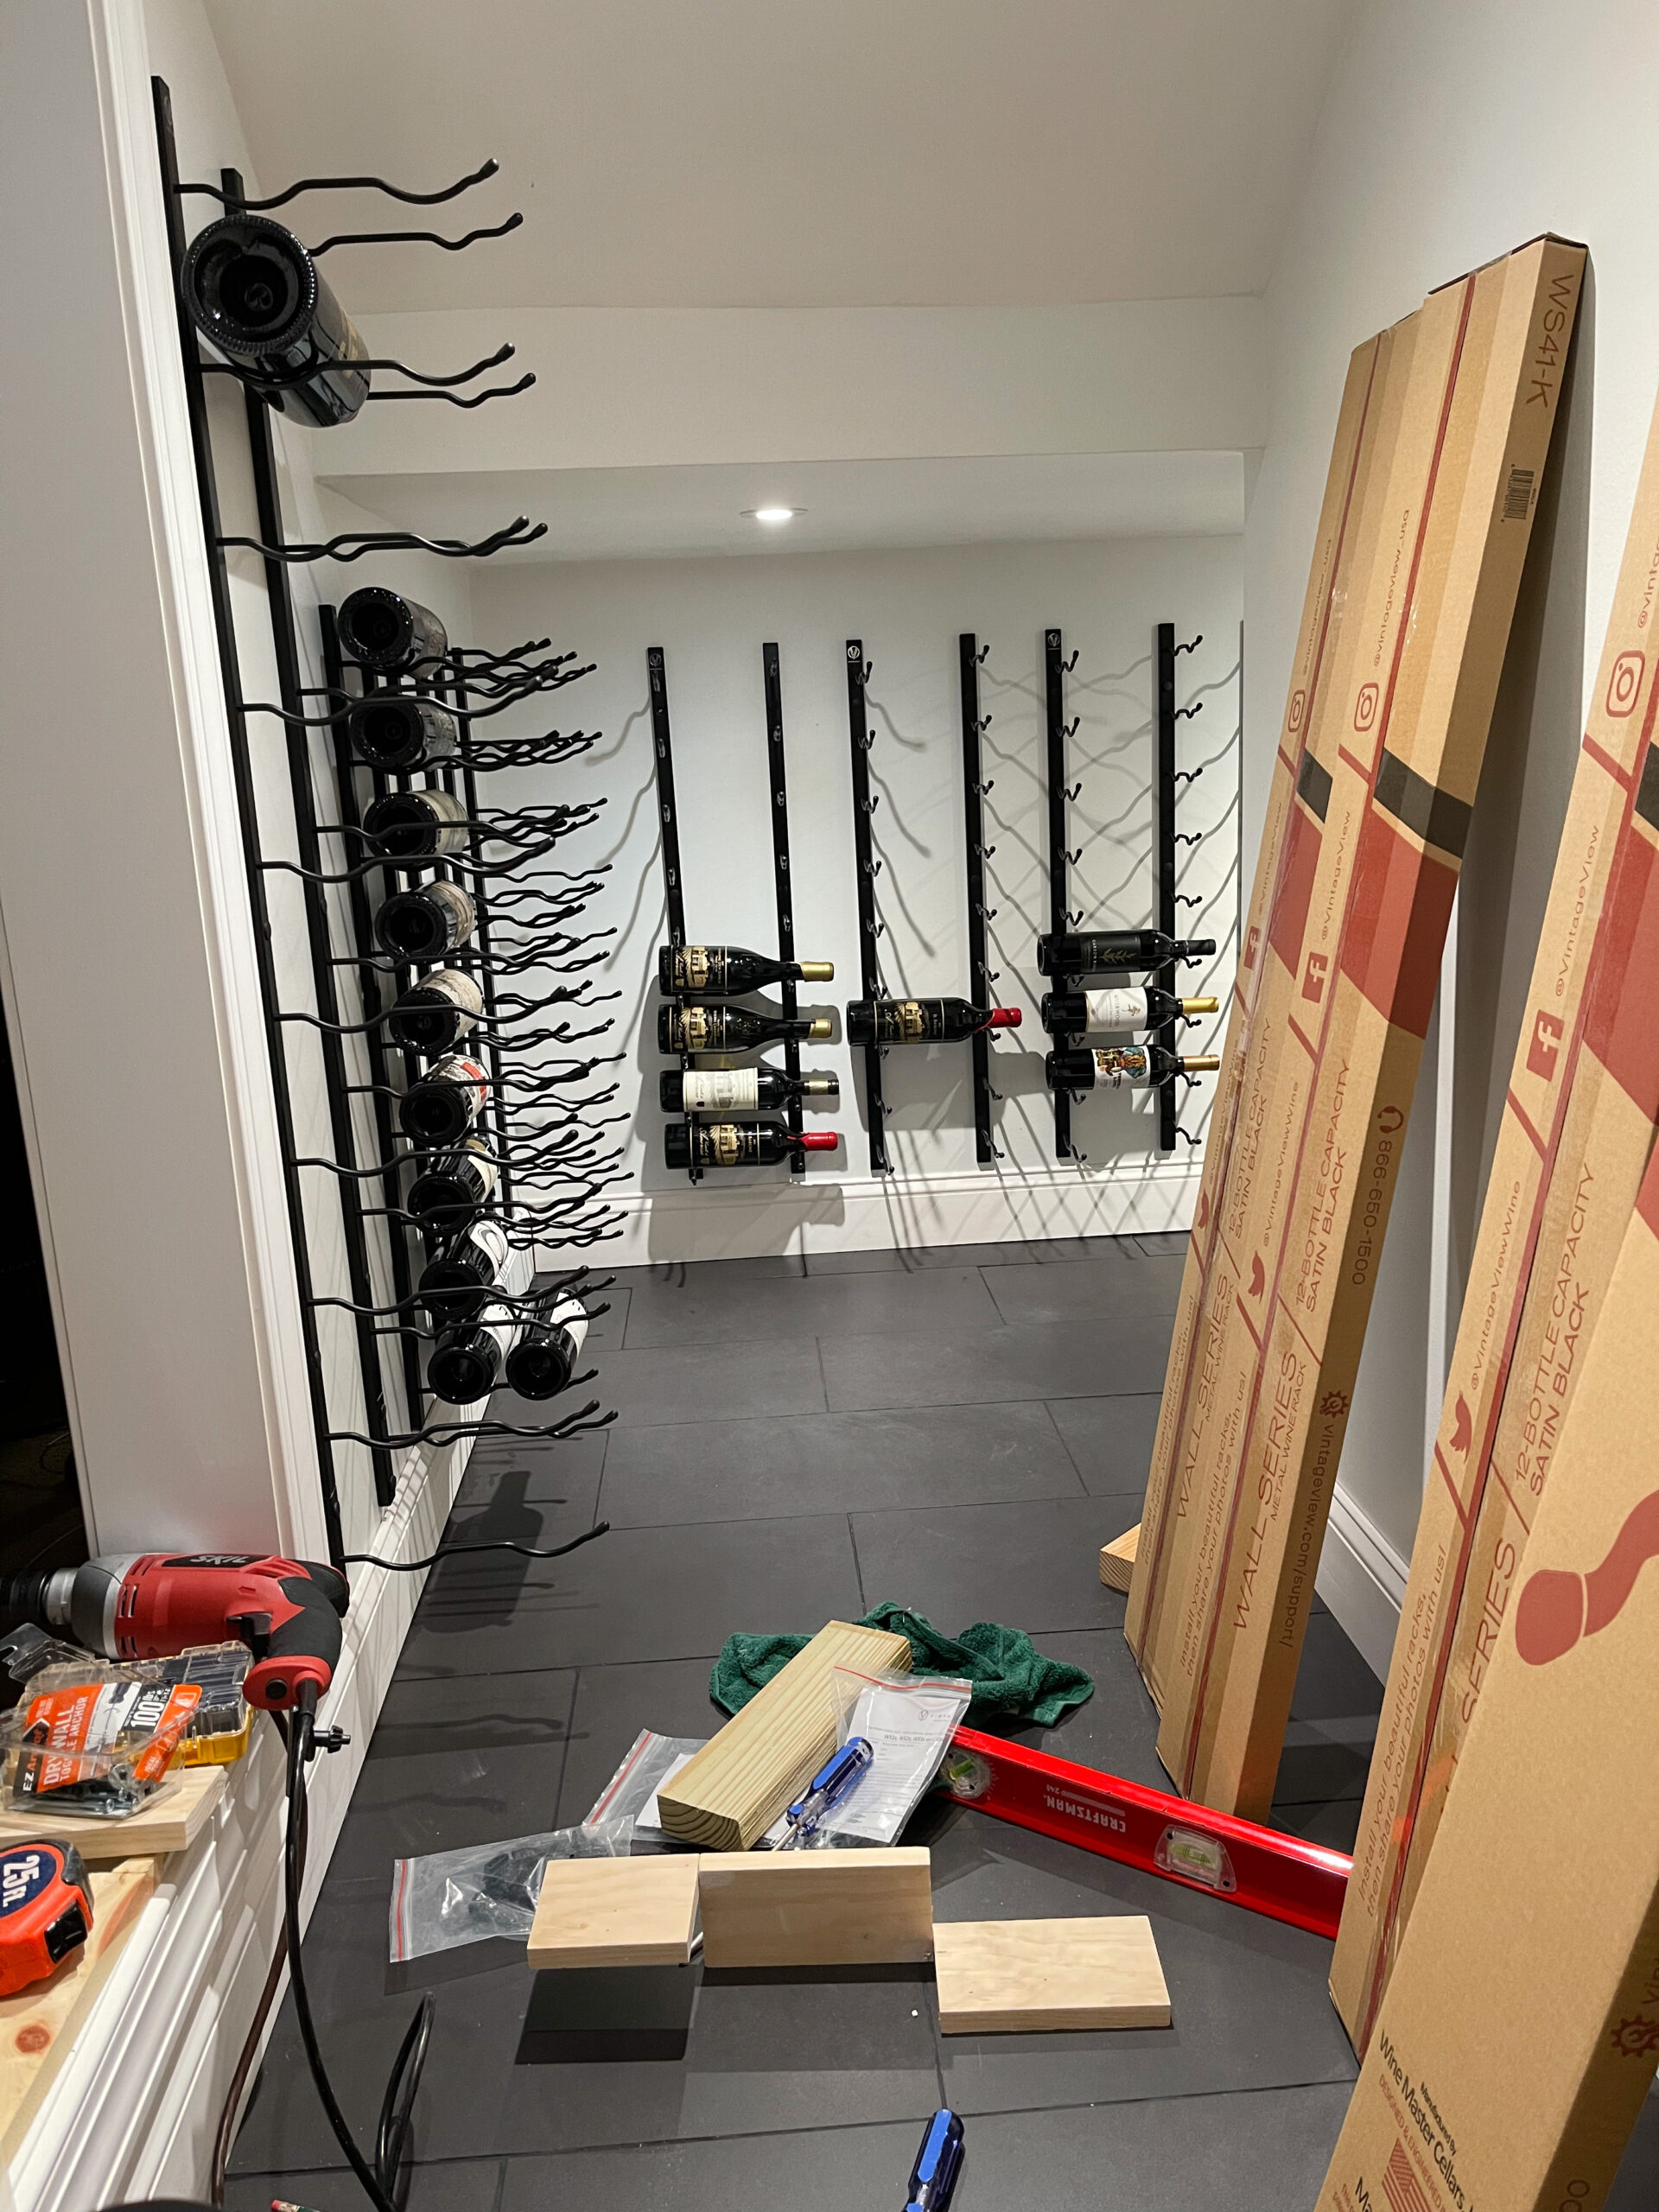
From the moment I placed the order, I’ve been impatiently awaiting this day. I was hoping to get this delivery earlier in the day but I got it at the end of the day and it took me 9 hours to install by myself. My husband would just love to help but, honestly, I don’t work well with others sometimes. I get frustrated nobody can read my mind and it’s not fair to have someone waiting around on standby to help you hold something every now and then. It’s fine. It’s totally fine. but this is just proof this is doable solo. Very DIY-friendly. As always, Luka checking in to ensure quality work.
Delivery and Installation
I CANNOT BELIEVE IT. HOW nice is this? I did this. I never imagined I would be building a wine cellar. I’ve provided a total cost breakdown below. We have been collecting wine during our travels and was filling up one of our storage closets with so much wine I felt our closet system might fail due to the weight. I felt this was also a good investment for our home if we decided to resell later on. It serves as an accent wall, art piece and a fun hobby for the both of us.
Materials/Items Used/Cost Breakdown
The total cost was around $7,298. It easily added more equity into our home than the cost of materials. This project was originally quoted to us at around $23K. There was no way I was ok paying that for something I could easily do. Intimidating, sure…doable? Absolutely.
- Drywall (purple board): $150
- Insulation (Rockwool): $350
- Vapor Barrier (6 mil): $90
- Drywall tape & joint compound (I used mesh tape and premixed lightweight joint compound): $35
- Casing trim/baseboards/wood filler: $206/15/123/114/81/75 = $614
- Tile/thinset/grout/grout additive/spacers: $370/$131 = $501
- Tile Saw (via Sunbelt Rentals): $75
- Paint Walls (Sherwin Williams, Cashmere low lustre in Pure White): $70
- Paint for Trim (Valspar Window and Door in Ultra White, Satin Finish): 25
- Electrical work for new lighting: $600
- New Lights @21 each: $88
Total for materials: $2,598.00
Trimwork and cost of tile and better grade paint raised the cost significantly.
Bigger Ticket Items
- Vintage View Wine Racks: $2,400
- Window & Door (Custom Mirror and Glass here in Gastonia, NC): $1,100 & $1,200
Larger item costs: $4,700

